Camera lens scratches require assessment before treatment. Minor surface scratches can be addressed with non-gel toothpaste or alcohol solutions applied in circular motions with microfiber cloths. Deeper damage necessitates professional polishing with specialized compounds and rotary tools. DIY repairs carry risks of worsening optical quality or damaging protective coatings. Prevention strategies include proper storage in padded bags, using lens hoods, and cleaning with air blowers followed by gentle wiping. Proper techniques preserve image quality and extend lens lifespan.
Key Takeaways
- Assess scratch severity first – surface scratches on outer elements affect contrast and flare but may not severely impact image quality.
- Minor scratches can be buffed using non-gel toothpaste applied in circular motions with a cotton swab.
- Deeper damage requires professional polishing techniques using specialized compounds and rotary tools at appropriate speeds.
- Consider risks before attempting DIY repairs as amateur methods can cause irreversible damage to protective coatings.
- Prevention is best – use lens hoods, proper storage in padded bags, and correct cleaning techniques with air blowers first.
Assessing Lens Scratch Severity and Impact
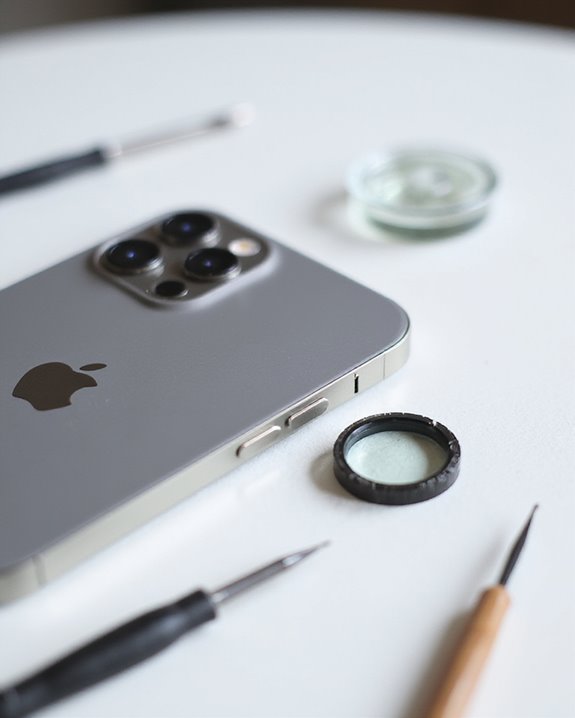
When confronted with a scratched camera lens, understanding the damage’s precise nature and impact becomes essential before attempting any repair. Scratch Evaluation should begin by determining the scratch’s location relative to lens elements, as damage to internal components typically causes more significant degradation than surface scratches. The size, depth, and position—center versus periphery—directly influence potential image quality issues. Using professional-grade tools can help accurately assess the extent of damage and decide whether a DIY fix or professional repair is necessary. Impact Analysis reveals that small scratches (under a few millimeters) minimally affect resolution and sharpness, while larger or deeper abrasions scatter light more aggressively, increasing flare and reducing contrast. Scratches on outermost elements primarily impact contrast and flare resistance, especially in backlit conditions, whereas coating damage contributes to unwanted reflections. Most importantly, protective filter scratches present less critical concerns than damage to the actual lens elements themselves.
DIY Remedies for Minor Lens Scratches
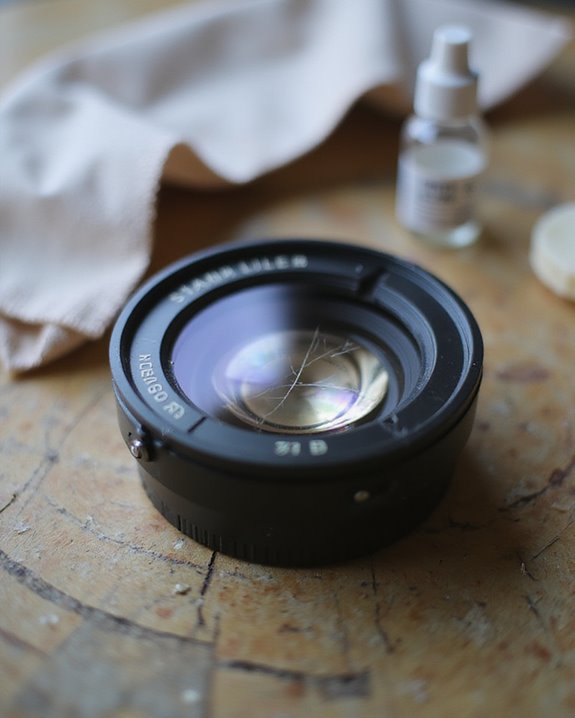
For camera enthusiasts faced with minor lens scratches, several DIY remedies can effectively restore optical performance without requiring professional intervention. Non-gel toothpaste containing natural abrasives serves as a homemade polish when applied sparingly with a cotton swab in circular motions, followed by gentle wiping with a microfiber cloth to remove residue.
An alcohol-water solution (20:1 ratio) offers another approach, with a dampened microfiber cloth used in circular buffing motions to diminish scratch visibility, particularly for superficial damage. More advanced repairs involve specialized polishing compounds like cerium oxide applied with felt pads on Dremel tools, though this typically removes the UV coating. These methods work best on protective coating scratches rather than deep glass damage, and users should acknowledge the trade-off between restoration and potential coating removal.
Utilizing precision-ground glass components ensures better optical clarity after repair, emphasizing the importance of quality materials even in DIY fixes.
Professional Polishing Techniques for Deeper Damage
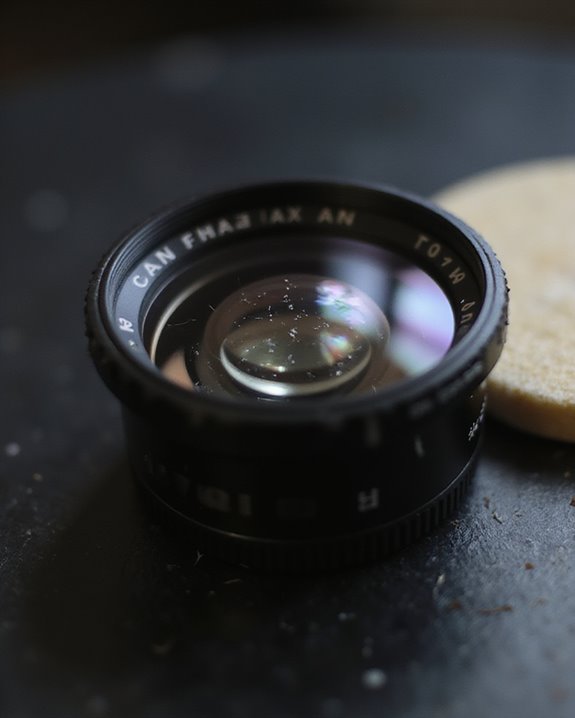
Deeper lens scratches that resist DIY solutions often require more sophisticated professional polishing techniques to restore optical clarity. These methods utilize specialized equipment and precise application to address damage without compromising lens integrity. Professional-grade polishing compounds, specifically formulated for glass surfaces, can effectively remove scratches by gradually buffing away damaged layers. When applying these compounds, technicians typically employ rotary techniques with tools such as Dremels fitted with appropriate buffing pads. Before beginning, the camera body should be carefully taped off to prevent accidental damage from compounds or equipment. The process typically involves evaluating scratch depth, applying compound in circular motions at appropriate speeds, and periodically checking progress. High-grit sandpaper (4000+) may be necessary for initial treatment of deeper scratches before moving to finer polishing compounds. Additionally, the use of sensor swabs can help maintain the cleanliness of the lens during the polishing process, ensuring no additional debris causes further scratches.
Risks and Precautions When Repairing Camera Lenses
Although repairing camera lens scratches at home might seem tempting, understanding the significant risks involved is essential before attempting any DIY solutions. Amateur repairs often result in abrasion damage to protective coatings, with common materials like toothpaste potentially causing irreversible harm to optical surfaces. Tool Safety becomes particularly critical when dealing with complex lens mechanisms that require specialized equipment for proper disassembly.
Most DIY methods address only cosmetic issues while potentially worsening optical performance, creating more Material Hazards through unstable fillers that increase light diffusion. Professional expertise remains necessary for maintaining optical integrity, as incorrect repairs can cause permanent damage. Before proceeding with any repair attempt, photographers should assess scratch severity, consider protective filters for future prevention, and conduct a thorough cost-benefit analysis comparing repair expenses against replacement costs.
Preventative Maintenance to Protect Against Future Scratches
Consistently implementing preventative maintenance protocols serves as the most effective strategy to protect camera lenses against future scratches. Proper Lens Storage includes using padded compartment bags that prevent lens-to-lens contact, incorporating desiccant packs to control humidity, and maintaining upright storage positions to minimize surface exposure. Environmental precautions, such as avoiding lens changes in dusty conditions and utilizing lens hoods as physical barriers, further reduce scratch risks.
Essential Handling Tips include maintaining a two-handed grip during operation, using neck or wrist straps to prevent accidental drops, and ensuring clean hands before touching optical surfaces. When cleaning becomes necessary, photographers should first remove particulates with air blowers before using microfiber cloths in gentle, circular motions from center outward, preserving delicate anti-reflective coatings that enhance image quality.
Frequently Asked Questions
Can Scratched Lenses Be Repaired Under Manufacturer Warranty?
Surprisingly, manufacturer warranties typically exclude scratched lenses under general “exclusion policies.” Warranty claims for scratches are almost universally denied as they’re classified as user-caused cosmetic damage rather than manufacturing defects requiring repair.
How Much Does Professional Lens Element Replacement Typically Cost?
Professional lens element replacement typically costs between $300-$600 for standard lenses. Cost factors include lens type, damage extent, and manufacturer. Pricing trends show higher costs for specialty lenses like macro or telephoto variants.
Will Insurance Cover Lens Scratch Repair Services?
Like a knight’s shield requiring careful scrutiny of its protection, insurance eligibility for lens scratch repairs depends on policy specifics. Standard policies often exclude accidental damage, while additional coverage options may include claim procedures for such repairs.
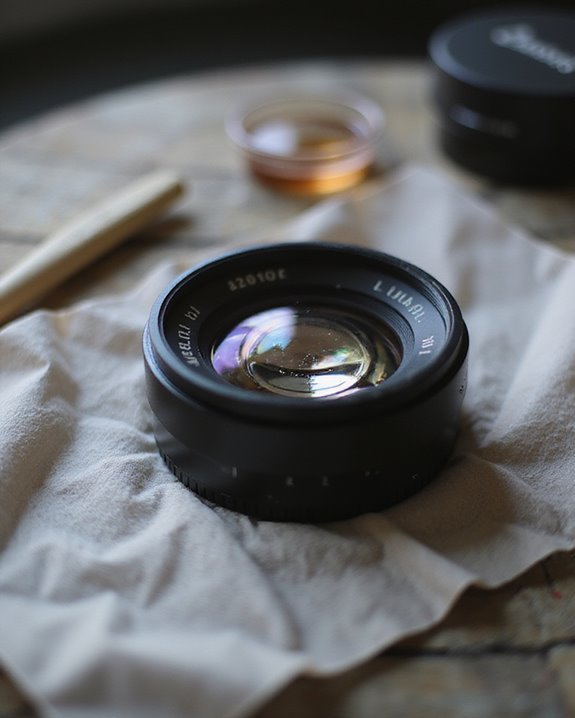
Can Vintage Lens Scratches Be Treated Differently Than Modern Ones?
Yes, vintage lens scratches require different treatment due to their unique materials. Vintage coatings are less resilient and age effects like balsam separation necessitate gentler polishing techniques, while modern lenses tolerate contemporary tools and compounds better.
Should I Attempt Repairs on Weather-Sealed Lenses Myself?
Most professionals advise against DIY repairs on weather-sealed lenses due to significant DIY hazards. Improper seal maintenance can compromise weatherproofing, potentially causing moisture damage and optical issues. Professional service guarantees proper resealing and alignment.