To remove a camera lens, power down your camera completely, locate the lens release button (typically positioned adjacent to the lens mount), then press and hold this button while rotating the lens counterclockwise until it disengages. We recommend pointing the camera downward during removal to minimize dust entering the sensor chamber. Immediately attach rear lens caps to the removed lens and secure the body cap on your camera mount to protect sensitive components. Proper handling techniques and regular mount maintenance guarantee smoother lens changes in the future.
Key Takeaways
- Power off your camera completely to protect internal electronics before attempting to remove any lens.
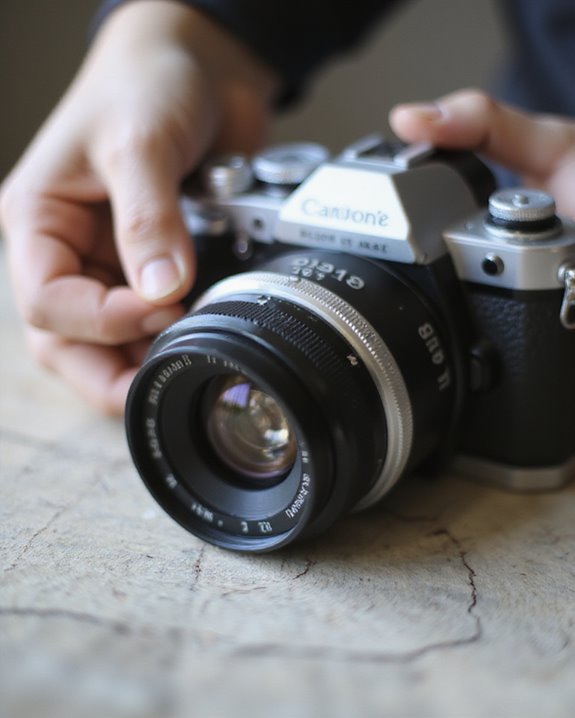
- Press the lens release button (typically located beside the lens mount) while rotating the lens counterclockwise until it disengages.
- Hold the camera with its mount facing downward during lens removal to minimize dust entering the sensor chamber.
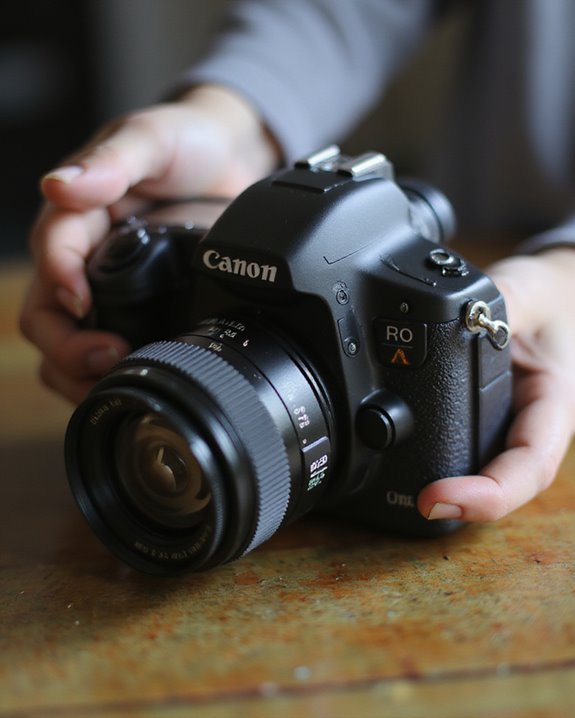
- Maintain a secure two-handed grip with your right hand on the camera body and left hand supporting the lens from below.
- Immediately attach the rear lens cap to the removed lens and secure a body cap on the camera mount.
Essential Equipment for Lens Removal
The proper toolkit is essential when undertaking a lens removal procedure, and we’ve found that having the right equipment prevents costly damage to your valuable optical components. We recommend investing in precision screwdrivers, both micro flat-head and Phillips-head varieties, for accessing those tiny screws securing lens components. Proper Tool Maintenance, including regular cleaning and inspection, guarantees your equipment remains in ideal condition for repeated use. For handling delicate parts like aperture blades, non-metallic tweezers are vital, while rubber lens removal tools and vacuum pads provide necessary grip without scratching surfaces. A thorough Equipment Storage solution, such as compartmentalized containers, keeps your specialized tools organized and readily accessible, preventing loss of minute screws and components during the disassembly process. Don’t forget a spanner wrench for those stubborn retaining rings. Incorporating anti-magnetic stainless steel tools can further enhance the safety and precision of your lens removal process, especially when working with delicate electronic components.
Preparing Your Camera Before Removing the Lens
Now that you’ve assembled your tools, proper preparation of your camera represents a critical preliminary step before any lens removal occurs. First, initiate a complete Power Shutdown of your device, which protects internal electronics and allows any sensor cleaning cycles to complete. We recommend following manufacturer-specific guidelines for proper shutdown procedures, ensuring in-camera stabilization systems are disabled if applicable. Additionally, verify your lens thread size to ensure proper fit when selecting compatible accessories or replacement parts. Next, focus on Environment Setup by selecting a clean, dust-free area with stable, flat surfaces for lens placement. We’ve found that indoor locations with controlled lighting conditions greatly reduce contamination risks during lens changes. Position yourself away from direct sunlight, wind, or high-moisture environments that could introduce particles to your sensor or lens mount. Have lens caps and body caps readily accessible to minimize exposure time when the camera body is open.
Step-by-Step Lens Removal Process
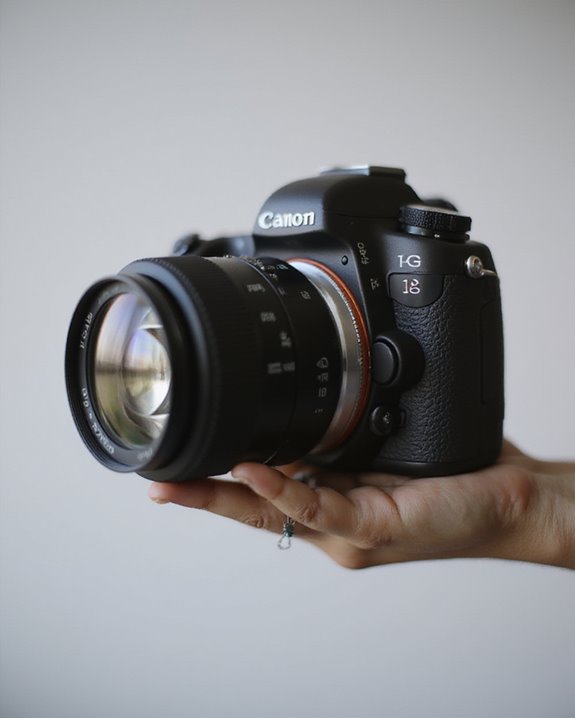
Grasping your camera with confidence, we’ll guide you through the critical lens removal process that requires precision and care to protect your valuable equipment. Our Step Sequencing begins with locating the lens release button adjacent to the lens mount on your camera body. Press and hold this button firmly while rotating the lens counterclockwise until it disengages from the bayonet mount system. During this Process Flow, position the camera facing downward to minimize dust entry into the sensor chamber. Once the lens is detached, immediately apply the rear lens cap to the removed optic and secure a body cap onto the camera’s exposed mount. For heavier telephoto lenses, maintain a secure grip throughout the rotation to prevent accidental drops that could damage the mount contacts or optical elements. Proper handling and understanding of OEM components can help ensure a seamless replacement process and optimal camera performance.
Proper Handling Techniques for Camera Lenses
Mastering proper handling techniques for camera lenses extends beyond just removing them correctly—it’s about developing habits that preserve your optical investments for years of pristine image quality. We recommend supporting your equipment with a two-handed approach: right hand on the camera body and left hand cradling the lens from below, with elbows tucked against your torso for maximum stability.
During lens changes, always face the camera downward and work in dust-free environments to minimize contamination. For storage methods, utilize front and rear caps religiously, and store lens hoods separately to avoid pressure on glass elements. Regular lens cleaning with appropriate brushes and microfiber cloths prevents buildup that can degrade optical performance. Additionally, employ protective filters and lens hoods to shield against physical impacts and stray light that could compromise image quality.
Protecting Your Camera and Lenses During Changes
Properly protecting your equipment during lens changes invariably determines the longevity and performance of your photographic investment. When swapping lenses, we recommend performing changes in environments with minimal dust and controlled humidity. Humidity Control is essential, as excessive moisture can promote fungal growth on optical elements, potentially causing irreparable damage. Always point the camera body downward during changes to minimize dust entering the sensor chamber.
For ideal Storage Tips, implement rear lens caps immediately after removal, and temporarily store detached lenses in padded compartments. Avoid touching optical elements with bare fingers, as oils can deteriorate coatings. When working in adverse conditions, use a clean microfiber cloth as a protective barrier during changes. Consider using desiccant packs in your camera bag to maintain appropriate humidity levels, particularly in environments exceeding 60% relative humidity.
Troubleshooting Common Lens Removal Issues
The frustrating experience of a stuck camera lens can quickly derail even the most carefully planned photographic session. When faced with resistance during lens removal, we recommend first checking for dirt and debris around the mount, as these are common culprits that impede proper detachment. Mechanical failures, such as worn-out release buttons or damaged bayonet mounts, often manifest as physical resistance when attempting to rotate the lens. Additionally, firmware glitches can interfere with the electronic communication between camera body and lens, particularly in newer models with electronic mounting systems. In such cases, a simple camera restart or firmware update may resolve the issue. For persistent problems, gentle tapping or careful manual adjustment of the lens barrel might help, but avoid applying excessive force that could damage delicate components.
Maintaining Your Lens Mount for Optimal Performance
Regular maintenance of your lens mount serves as a critical foundation for ensuring consistent, high-quality image capture and prolonging the lifespan of your photographic equipment. We recommend developing a systematic Lens Maintenance routine that includes gently wiping the mount with a microfiber cloth after each use, removing accumulated debris with a lens pen brush, and carefully cleaning the electrical contacts to maintain reliable communication between components.
For effective Fungus Prevention, store your equipment in humidity-controlled environments, using desiccants and airtight cases for long-term storage. Regular inspection for early signs of fungal growth is essential, as fungus can permanently damage lens coatings and glass surfaces. When handling lenses, avoid touching the mount contacts, and always cap both ends immediately after detachment to protect sensitive elements from contamination.
Frequently Asked Questions
Can I Remove a Lens While My Camera Is Turned On?
While we can remove lenses with cameras on, we’d recommend powering off to extend battery life and secure sensor protection. It’s technically possible but not ideal for maintaining our equipment’s longevity and cleanliness.
How Often Should I Change My Camera’s Lens Mount Gasket?
Like silent guardians of our precious gear, lens mount gaskets don’t follow strict replacement schedules. We’d recommend checking for wear during your regular maintenance routine and replacing when damage is visible—not preemptively on a fixed timeline.
Will Removing Lenses Void My Camera’s Warranty?
We must warn you that lens removal typically voids most camera warranties. Legal ramifications vary by jurisdiction, but many manufacturers refuse repairs. Consider authorized services, as they offer warranty extensions for sanctioned modifications.
Can Extreme Temperatures Affect Lens Removal Difficulty?
“When the mercury rises, so does trouble.” Yes, we’re seeing how extreme temperatures impact lens removal. Cold makes lubricants thicken while heat can cause lens swelling, making both scenarios challenging for us photographers.
Is It Safe to Remove Lenses During Light Rain?
We don’t recommend removing lenses during light rain. Rain safety is compromised as moisture effects can damage your camera’s internal components. If necessary, use a protective covering and work quickly under shelter.


