Cleaning a camera lens requires the proper tools and technique to prevent damage. First, use an air blower to remove loose particles, then a soft-bristle brush for stubborn debris. Apply 1-2 drops of lens-specific cleaning solution to a microfiber cloth—never directly on the lens. Wipe in gentle circular motions from center outward. Between cleanings, use lens caps, hoods, and proper storage to minimize contamination. Proper maintenance techniques protect your investment while ensuring best image quality.
Key Takeaways
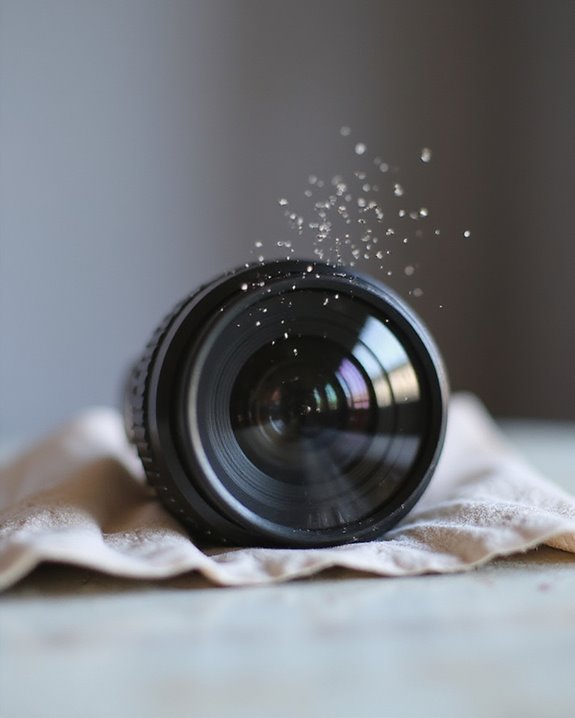
- Start by using an air blower to safely remove dust particles before wiping the lens surface.
- Apply 1-2 drops of camera-specific cleaning solution to a microfiber cloth, never directly on the lens.
- Clean with gentle circular motions from the center outward, using minimal pressure to avoid scratching.
- Avoid common mistakes like using household cleaners or wiping before removing loose particles.
- Regularly use lens caps, hoods, and proper storage to reduce the frequency of deep cleaning needed.
Understanding the Right Tools for Lens Cleaning
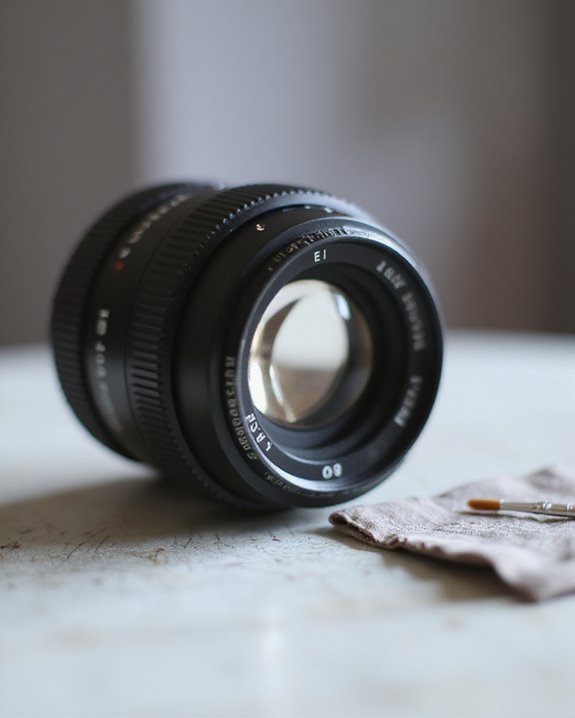
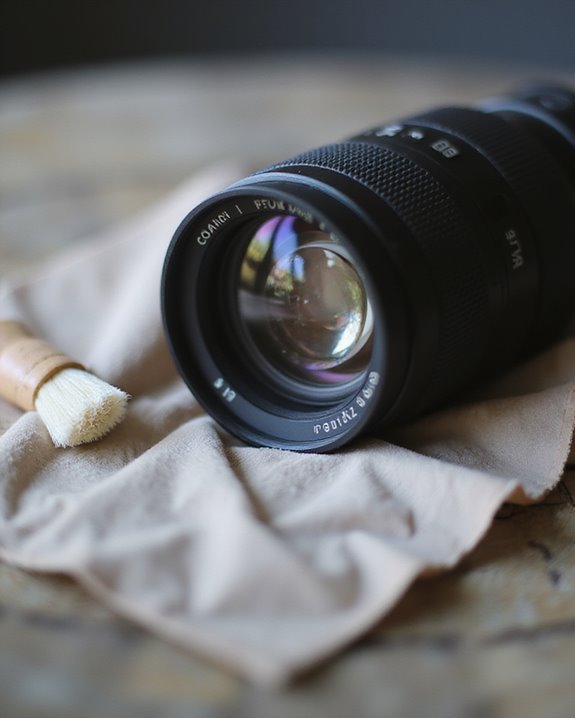
Professional photographers and enthusiasts alike recognize that proper maintenance of camera equipment begins with selecting the appropriate cleaning tools. The market offers numerous options with varying Tool Materials designed specifically for camera optics, including microfiber cloths with fine-pore construction that prevent scratching delicate lens coatings. Air blowers like the Rocket Blower provide a gentle first step in dust removal before applying any solutions. Using camera-specific cleaning solutions ensures that residues and smudges are removed without damaging sensitive coatings or leaving streaks.
Brand Comparisons reveal notable differences in quality and features, with Zeiss and Urth producing thorough kits known for their effectiveness on coated glass. The LensPen utilizes carbon-based materials to safely remove fingerprints, while Purosol Optical Cleaner paired with Kimwipes offers a chemical-safe solution for deeper cleaning. For best results, photographers should select tools specifically designed for photographic equipment rather than general household cleaning products.
The Step-by-Step Camera Lens Cleaning Process
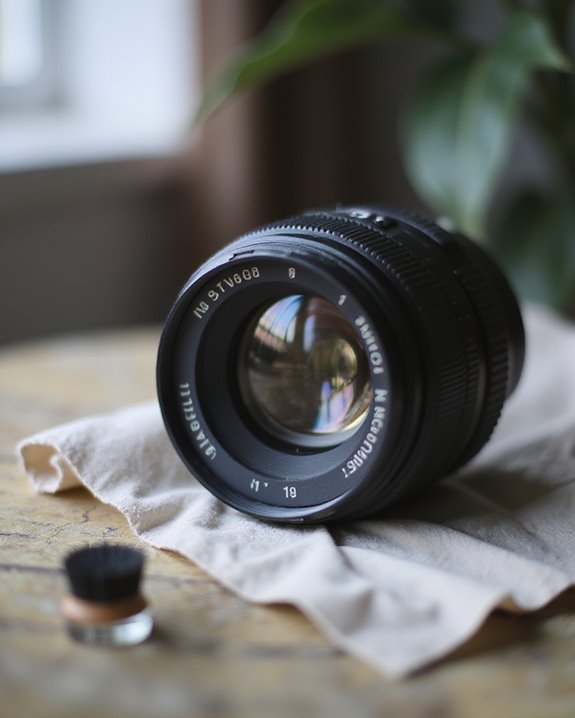
A methodical approach to lens cleaning guarantees ideal results while minimizing the risk of damage to delicate optical surfaces. Begin by powering off the camera and detaching the lens, then inspect under bright light to identify contaminants requiring attention. Start with Air Blowing using a dedicated lens blower, directing air from the edges inward to dislodge loose particles without physical contact. For persistent debris, employ a soft-bristle brush, moving from center outward. Once loose particles are removed, apply 1-2 drops of cleaning solution to a microfiber cloth—never directly on the lens. Implement the Circular Wiping technique, moving in concentric circles from center to edge with moderate pressure. Rotate the cloth regularly to prevent redepositing contaminants. Finish with a thorough inspection against a light source before reattaching the lens. Using a professional-grade lens cleaner can help ensure safe and effective removal of fingerprints and smudges without damaging coatings.
Warning Signs Your Camera Lens Needs Attention
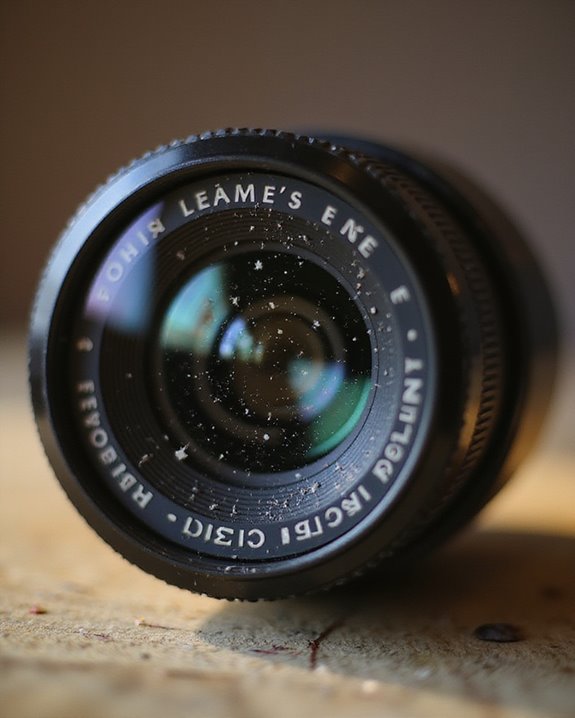
How does one recognize when a camera lens requires cleaning or maintenance? The first indications often appear in image quality, with dust causing reduced contrast, visible flare when light strikes at certain angles, or dark spots in photographs. Environmental indicators such as exposure to sand, moisture, or frequent handling typically accelerate dirt accumulation, particularly in poorly stored or aging equipment. Regular visual inspections and physical checks can help detect smudges or debris early, preventing potential damage. Photographers should distinguish between lens and sensor dust—the former typically creates haze or contrast issues, while the latter appears as consistent dark spots across multiple images. Implementing prevention strategies, including proper storage and careful handling, greatly reduces the need for frequent cleaning. Utilizing professional cleaning tools like microfiber cloths and sensor swabs enhances maintenance effectiveness and preserves image quality.
Common Mistakes to Avoid When Cleaning Camera Lenses
Once a photographer identifies their lens needs cleaning, proper technique becomes paramount to prevent unintentional damage. Many incorrectly use water or household cleaners, which leave mineral deposits or damage specialized coatings. Wiping without first using a blower forces abrasive particles across delicate glass surfaces, creating permanent scratches.
Environmental factors greatly impact cleaning efficacy, with Humidity Problems causing incomplete drying and subsequent streaking. Temperature Effects can create condensation inside lens elements when cleaning in fluctuating conditions. Photographers should avoid excessive pressure during wiping, always moving in a circular motion from center outward. Additionally, neglecting rear elements or lens caps undermines thorough maintenance.
Proper lens cleaning requires minimal solution on clean microfiber cloths, inspection before proceeding, and storage in protective cases afterward to prevent contamination from dusty environments.
Maintaining Your Camera Lens Between Cleanings
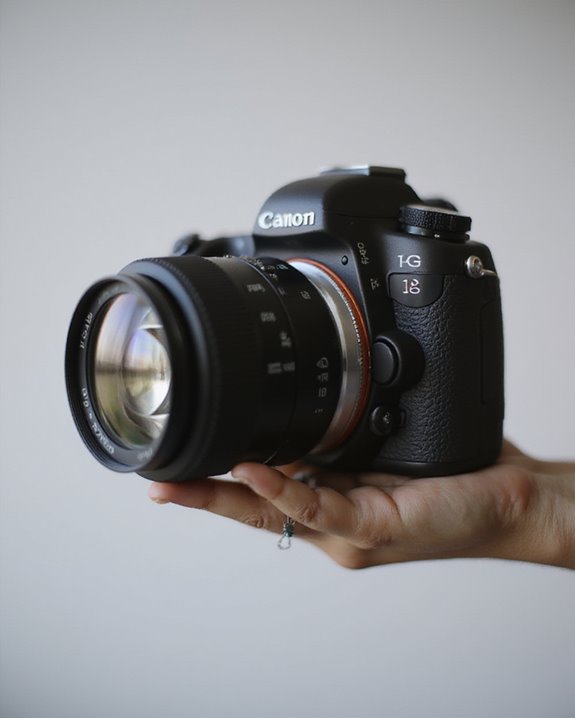
While proper cleaning techniques remain essential, daily maintenance practices between deep cleanings greatly extend a camera lens’s lifespan and optical performance. Photographers should develop consistent Handling Practices, including touching only the lens barrel during mounting and keeping hands clean to prevent oil transfer. Using lens caps, hoods, and UV filters provides physical protection against dust, scratches, and impact damage during both use and transport.
Proper Storage Methods greatly reduce cleaning frequency, with lenses ideally kept upright in padded compartments when detached from cameras. Dedicated lens cases with interior padding prevent mechanical shock, while silica gel packets control humidity in storage containers. Photographers should avoid exposing lenses to extreme temperatures, rapid temperature changes, and high humidity environments that promote internal condensation and potential fungal growth between maintenance sessions.
Frequently Asked Questions
Can Lens Cleaning Solutions Damage Vintage or Collectible Cameras?
Improper cleaning solutions can indeed damage vintage cameras. Vintage Care experts advise against ammonia-based products as they deteriorate lens coatings. Damage Prevention includes using only recommended solutions and gentle cleaning techniques for collectible equipment.
How Often Should I Clean My Smartphone Camera Lens?
Like a window to one’s digital memories, smartphone camera lenses need regular attention. Lens inspection should guide Cleaning Frequency—typically weekly for normal use, daily for heavy users, or immediately when smudges appear.
Is Ultrasonic Cleaning Safe for Expensive Camera Lenses?
Ultrasonic cleaning is generally safe for expensive lenses when properly engineered. However, users should consider potential warranty concerns, as improper ultrasonic effects could damage delicate coatings on high-end optical equipment.
Can Environmental Conditions Affect How I Should Clean My Lens?
Environmental conditions greatly impact lens cleaning approaches. Weather impact necessitates adapting techniques for saltwater, humidity, and dust exposure. Climate effects require preventative measures—immediate drying in humid areas and gentle particle removal in dry environments.
Will DIY Cleaning Solutions Work as Well as Commercial Products?
Like a homemade cake missing a secret ingredient, DIY cleaning solutions can work but lack consistency. DIY efficacy varies with proper ratios of alcohol to water, while homemade safety depends on using distilled water to avoid mineral deposits.