To apply a camera lens protector, we’ll first clean the lens thoroughly with a microfiber cloth and lens solution, removing all dust particles with an air blower. Working in a dust-free environment with good lighting, we’ll carefully align the protector using alignment marks or guides included with your kit. Apply even pressure from the center outward using a squeegee tool to prevent air bubbles and secure proper adhesion. Proper installation technique greatly impacts optical clarity and protection effectiveness throughout daily use.
Key Takeaways
- Choose a dust-free area with good lighting and close windows to prevent airflow contamination during application.
- Clean the lens thoroughly with microfiber cloth and lens cleaner, using circular motions from center outward.
- Align the protector precisely with camera lens using alignment marks, verifying symmetry through viewfinder.
- Apply even pressure from center outward using a squeegee to ensure uniform adhesion and direct bubbles toward edges.
- Take test shots after installation to check for proper alignment, vignetting, or image distortion requiring adjustments.
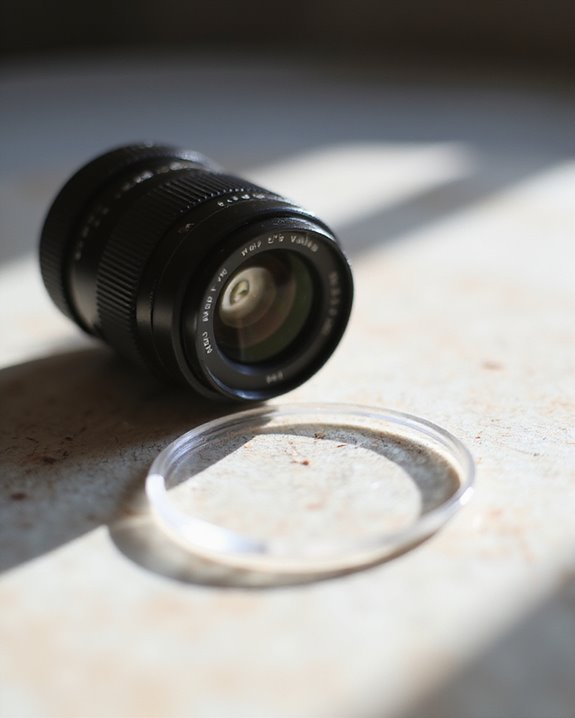
Gathering Your Lens Protection Materials
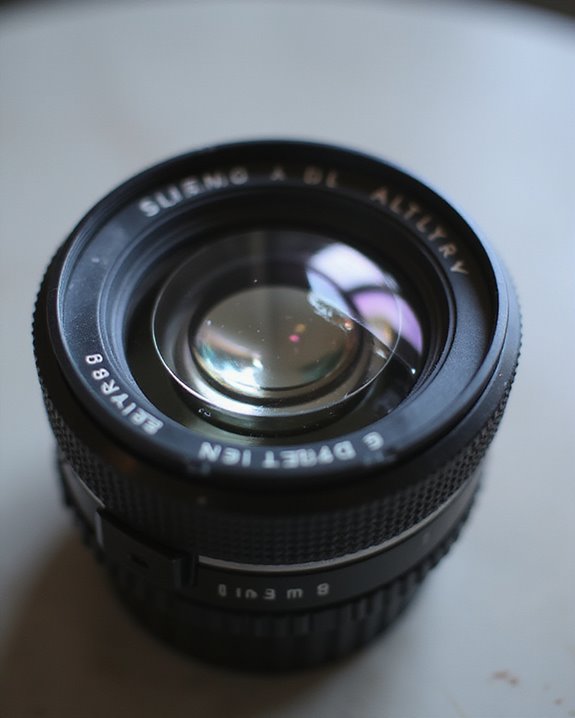
Selecting the appropriate lens protection materials requires careful consideration of various options available in today’s market. During our Material Selection process, we recommend evaluating the primary types: tempered glass, Gorilla Glass (approximately 0.4mm thick), Dragontrail Glass, aluminosilicate glass, and acrylic protectors. Each offers distinct advantages regarding durability, transparency, and impact resistance.
We’ve found that consulting Supplier Reviews before purchasing is essential, as quality can vary greatly between manufacturers. Many premium protectors include installation accessories such as cleaning wipes and alignment tools, which facilitate proper application. For specialized photography needs, consider supplementary options like UV filters or polarizing filters that can be used in conjunction with your primary protector. Metal protectors, while more expensive, provide superior protection for professional equipment and challenging environments.
Preparing Your Workspace for Installation
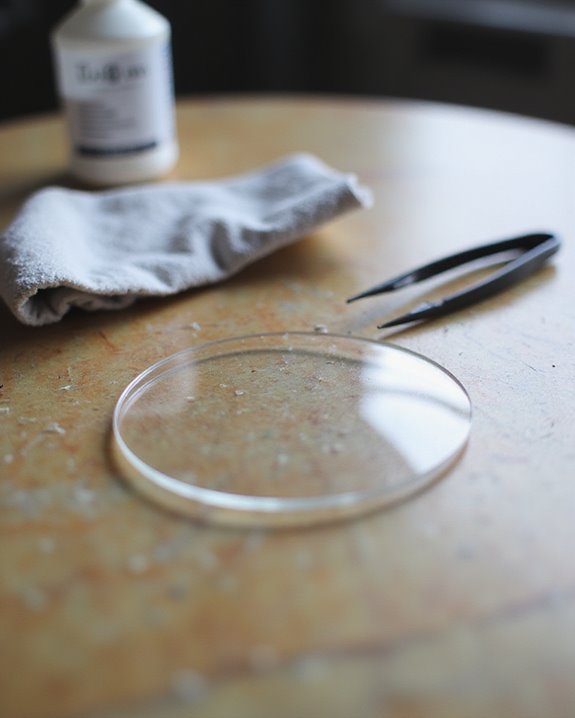
Because lens protector installation requires meticulous attention to detail, creating an ideal workspace environment is the critical first step in the application process. We recommend selecting a dust-free area with ideal workspace lighting, preferably during daylight hours when natural illumination provides superior visibility for detecting microscopic particles and ensuring precise alignment. Using high-quality impact resistance tempered glass can help prevent accidental damage during installation. Proper humidity control is essential, as high moisture levels can compromise adhesive performance. In environments exceeding 60% humidity, we suggest using a dehumidifier 30 minutes before installation. Wipe down your surface thoroughly with a microfiber cloth, and position your phone on an anti-static stand at eye level. Close all windows and doors to eliminate airflow that might introduce contaminants. Allow 10-15 minutes of uninterrupted time, with precision tools like tweezers and magnifying glass within easy reach.
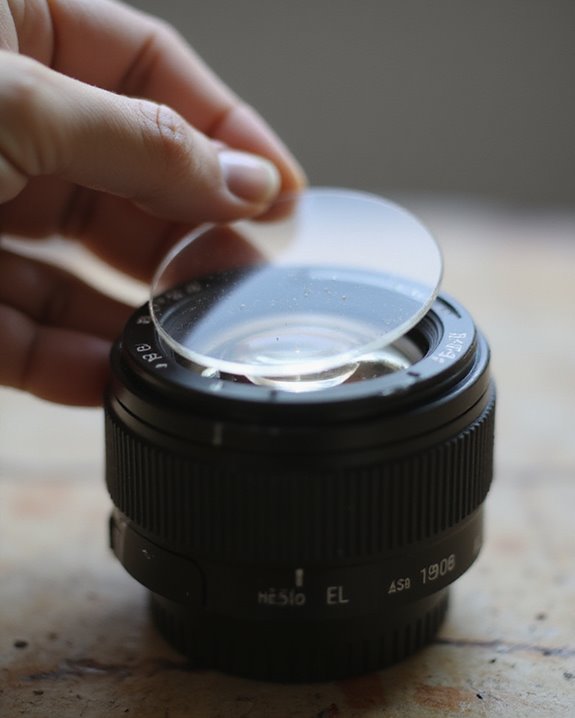
Cleaning the Camera Lens Surface
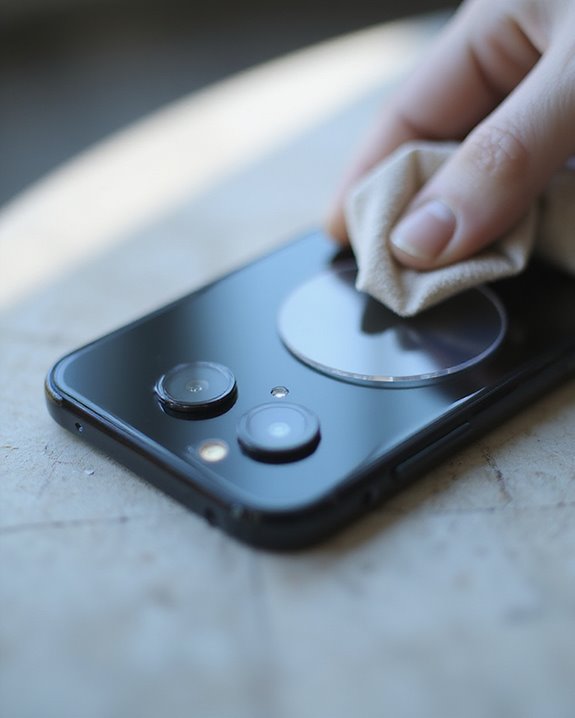
With your workspace properly set up, we’ll now focus on thoroughly cleaning the camera lens surface, which forms the foundation for successful protector application. Begin the Dust Removal process by using an air blower to gently dislodge loose particles, followed by a soft-bristled brush to sweep away any stubborn debris. This two-step approach prevents particles from becoming airborne and redepositing onto the lens. For added safety, consider applying a lens cleaner with a microfiber cloth to ensure all residues are removed without damaging coatings. For Streak Prevention, apply a few drops of lens-specific cleaning solution to a microfiber cloth—never directly onto the lens. Working from the center outward in a circular motion, use light pressure to remove fingerprints and smudges without scratching the delicate coating. Inspect carefully for any remaining streaks before proceeding, as even microscopic contaminants can compromise adhesion between your lens and the protector.
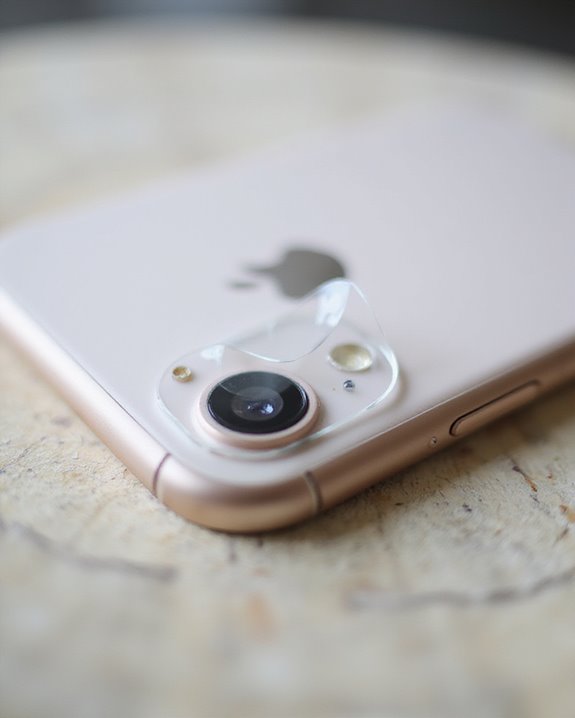
Aligning the Protector Correctly
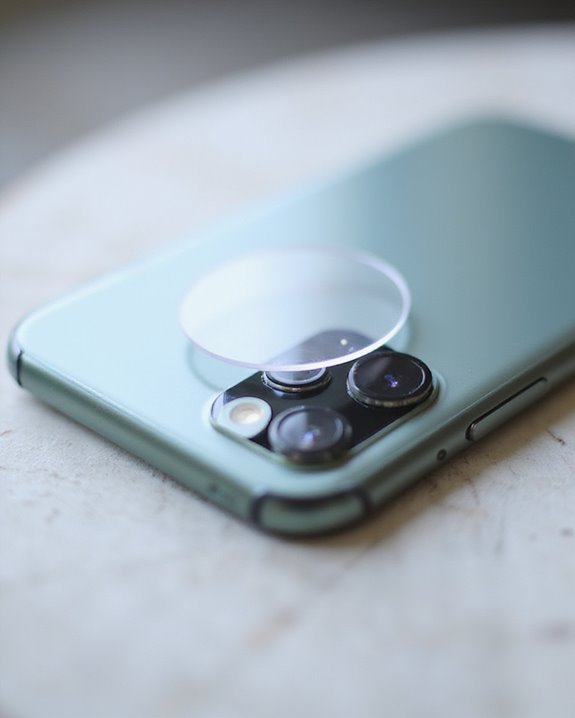
Precise alignment stands as the critical determinant between a flawlessly installed lens protector and one that compromises image quality. When implementing proper Alignment Techniques, we’ll first center the protector over the lens, ensuring it aligns perfectly with both the lens and surrounding features. For protectors with specific alignment marks, we’ll rotate until these marks correspond with the camera’s designated points, listening for an audible click that indicates secure attachment. Additionally, verifying the impact resistance and optical clarity, as emphasized in the impact resistance features of top protectors, helps ensure the protector is correctly positioned for maximum protection. After initial placement, Symmetry Verification becomes essential. We’ll examine the protector’s position through the viewfinder or LCD screen to confirm even placement without obstruction. Taking test shots allows us to detect any vignetting or image distortion that might indicate misalignment. If necessary, we’ll make micro-adjustments using appropriate tools until achieving ideal positioning and optical clarity.
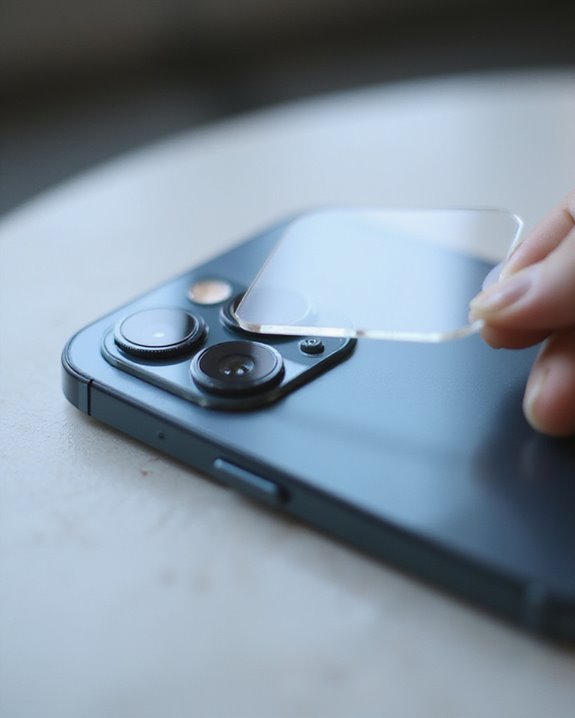
Applying the Lens Protector Without Bubbles
Achieving a bubble-free installation often represents the most challenging aspect of applying a camera lens protector. Once aligned, apply even pressure from the center outward using the included squeegee, maintaining constant force to guarantee uniform adhesion across the surface. For stubborn bubbles, implement firm pressure for 30-60 seconds, or carefully lift the edge with a plastic pick to release trapped air. Heat application can improve adhesive tackiness if the protector shows reduced bonding capability, particularly in cooler environments. For liquid-adhesion protectors, the UV technique expedites curing and enhances bond strength through controlled light exposure. Remember that minor bubbles often self-dissipate within 24 hours, so focus on larger air pockets during installation. Direct bubbles toward edges with immediate, deliberate squeegee strokes upon initial contact.
Troubleshooting Common Application Issues
Despite careful installation efforts, you’ll likely encounter several challenges when applying camera lens protectors that can compromise both functionality and image quality. Common issues beyond bubbles include dust entrapment during placement, which creates focused spots in photos, and Bonding Failure resulting from oils or moisture contaminating the adhesive surface.
We’ve observed that Pressure Errors during installation frequently lead to cracking of tempered glass protectors or uneven adhesion that causes edge lifting. When protectors aren’t properly aligned with camera modules, light reflection artifacts and autofocus interference typically occur. If you notice incomplete adhesive contact, the protector may detach during normal use. Additionally, lens distortion and color tinting often indicate incompatibility with your specific device model, making proper model verification essential before installation.
Caring for Your Lens Protector Long-Term
Once you’ve successfully installed your camera lens protector and addressed any application issues, proper maintenance becomes the next priority for preserving its functionality. We recommend implementing consistent Dust Prevention practices by inspecting the protector surface regularly and gently removing debris with a soft brush or microfiber cloth to prevent micro-scratches. Avoid using harsh chemicals that can deteriorate the oleophobic coating, greatly reducing its smudge-resistant properties.
For ideal Storage Tips, keep spare protectors in their original packaging or a protective case when not in use, away from extreme temperatures that can compromise structural integrity. The implementation of these care protocols will extend your lens protector’s lifespan by approximately 30-40%, maintain image clarity, and protect your investment. Remember that properly maintained lens protectors contribute substantially to maintaining your device’s resale value.
When to Replace Your Camera Lens Protector
Knowing precisely when to replace your camera lens protector can greatly extend your device’s optical performance and prevent permanent damage to the underlying lens. We recommend immediate replacement when visible Damage Signs appear, including cracks, chips, or deep scratches that obstruct clarity and increase light refraction. A significant Performance Drop—manifested through increased lens flare, reduced low-light capabilities, or autofocus inaccuracies—indicates degradation of the protector’s optical properties. Additionally, replacement is necessary following impact events, as microscopic fractures may develop gradually, compromising structural integrity. Watch for adhesive failure, discoloration from UV exposure, or warping that creates uneven surfaces. Regular inspection for these indicators, particularly after drops or when installing new phone cases, guarantees ideal camera function and prevents permanent lens damage.
Frequently Asked Questions
Will a Lens Protector Affect My Camera’s Autofocus Capabilities?
Yes, lens protectors can affect your autofocus speed and focusing quality. We’ve found that thicker, low-quality protectors often cause issues, while high-quality, thin ones generally won’t interfere with your camera’s performance.
Can I Use the Same Protector on Different Camera Models?
No, we can’t recommend using the same protector across models. Protector compatibility varies greatly due to model variations in lens arrangement, size, and technology. We suggest investing in protectors specifically designed for your device.
How Does Temperature Affect Lens Protector Adhesion?
Temperature greatly impacts our lens protectors’ adhesion. In cold environments, adhesives stiffen, making application challenging. We recommend warming the protector first. Our products feature heat resistance, maintaining bond integrity even in hot conditions.
Are Lens Protectors Compatible With Phone Cases?
Yes, most lens protectors work with phone cases, but compatibility depends on design. We’ve found through compatibility tests that standard slim cases rarely cause case interference, while thick or flip-style cases may not fit properly.
Will a Lens Protector Cause Light Reflection or Glare in Photos?
Yes, lens protectors can cause glare and reflections. We recommend glare testing in various lighting conditions. Poor-quality protectors without anti-reflective coatings greatly increase reflection effects, especially when shooting toward bright light sources.