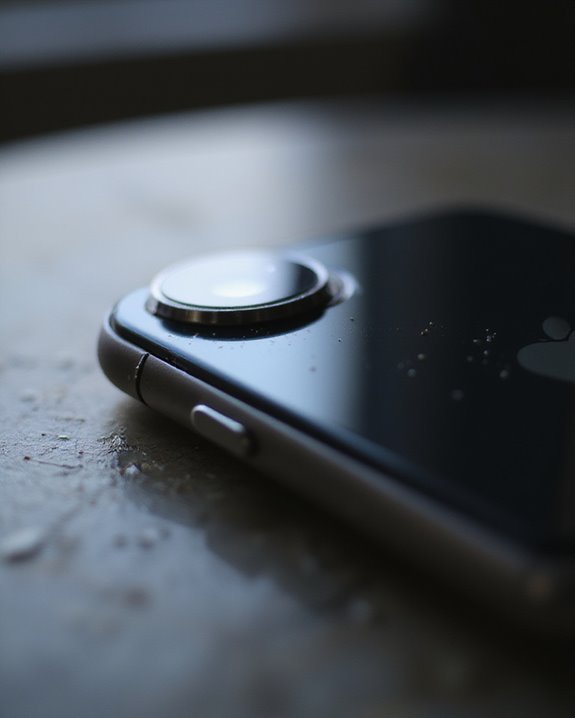
To remove an iPhone camera lens protector safely, we’ll need to apply gentle heat with a hairdryer (6-8 inches away for 10-15 seconds) to loosen the adhesive. Then, insert a plastic card or spudger under one edge and carefully work around the perimeter with consistent pressure. Never use metal tools, as they can scratch the lens. Clean any residual adhesive with 70-91% isopropyl alcohol on a microfiber cloth using circular motions. Proper technique prevents damage to your valuable camera system.
Key Takeaways
- Apply low heat with a hairdryer from 6-8 inches away for 10-15 seconds to weaken the adhesive.
- Insert a plastic card, spudger, or guitar pick under one edge and work around the perimeter with gentle pressure.
- Use tweezers to grip and carefully peel the loosened protector without applying excessive force.
- Avoid metal tools that could scratch the lens and proceed immediately after warming before adhesive re-hardens.
- Clean residual adhesive with isopropyl alcohol on a microfiber cloth using circular motions.
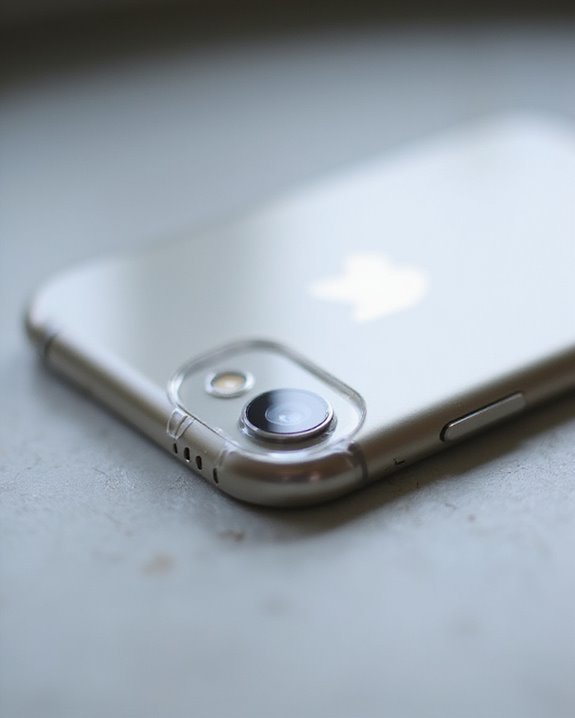
Understanding Iphone Camera Lens Protector Types
The diversity of iPhone camera lens protectors on today’s market necessitates a thorough understanding of their materials, designs, and protective capabilities. Material differences greatly impact both durability and image quality, with tempered glass offering superior scratch resistance at 9H hardness, while polycarbonate provides lightweight impact protection with reduced shattering risk. Many high-end protectors incorporate fingerprint-resistant and water-repellent coatings to minimize maintenance requirements.
Design variations range from single lens protectors that allow for individual replacement to full-coverage clear sheets that simplify installation. We’ve observed that brands like Case-Mate utilize double-tempered glass for enhanced durability, while ESR includes alignment tools for precise application. Some protectors, such as PolarPro’s aluminum covers, integrate directly with rugged cases, combining aesthetic appeal with thorough protection for your device’s optical components.
Essential Tools for Safe Protector Removal
Successful removal of an iPhone camera lens protector requires a thorough toolkit, ensuring you’ll avoid damaging your device’s delicate optical components during the process. Our recommended Tool Selection includes non-metallic implements such as plastic pry tools and anti-static spudgers, which prevent surface scratching while maintaining ESD protection for internal components. Heat application tools, specifically hair dryers operating at sub-60°C temperatures for 3-5 minutes, effectively loosen adhesives without compromising device integrity.
For effective Maintenance Tips, we suggest using isopropyl alcohol with microfiber cloths to dissolve residual adhesive after removal. Additionally, maintaining an anti-slip mat at your workstation stabilizes the iPhone during the procedure, while magnifying lamps improve visibility of adhesive boundaries. Always have replacement high-bond adhesives ready for future installations.
Step-by-Step Removal of Adhesive Lens Protectors
Now that you’ve assembled your toolkit, we’ll walk you through the methodical process of removing adhesive lens protectors from your iPhone camera without causing damage to the sensitive optical components. Begin by cleaning the surrounding area with a microfiber cloth to prevent debris from scratching the lens during removal.
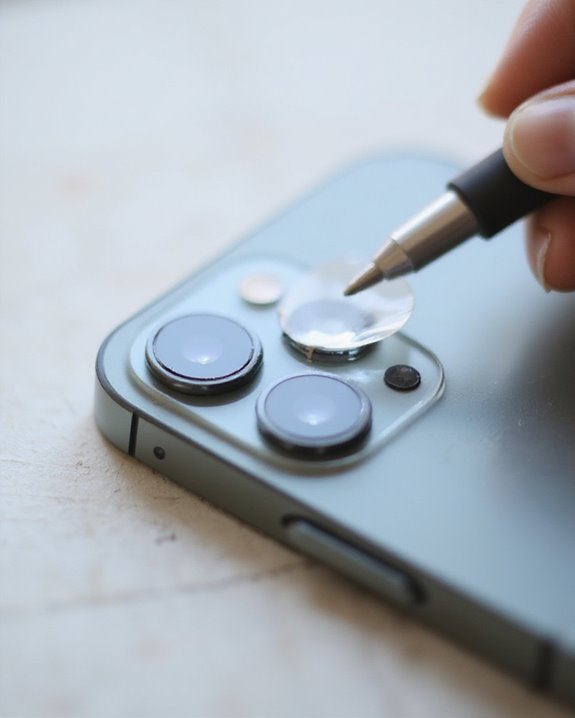
For ideal heat application, hold a hairdryer 6-8 inches away and apply low heat in circular motions for 10-15 seconds, which effectively weakens the adhesive bonds. Proceed immediately after warming, as the adhesive can quickly re-harden. Commence tool sliding by gently inserting a plastic card or spudger under one edge of the protector, then slowly work around the perimeter while maintaining constant, gentle pressure. For stubborn protectors, utilize tweezers to carefully grip and peel away the loosened material without applying excessive force.
Techniques for Removing Snap-On Protectors
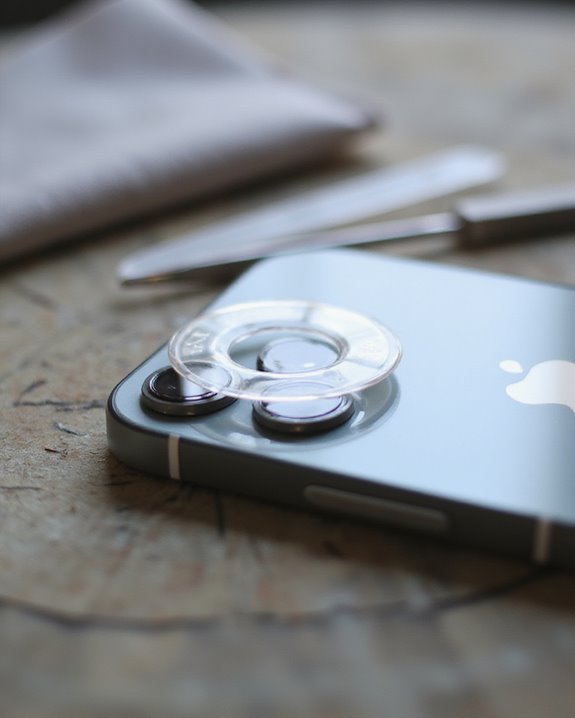
Removing snap-on lens protectors from your iPhone’s camera requires a different approach than dealing with adhesive variants, as they’re secured through physical retention mechanisms rather than glue. We’ve found that plastic cards and guitar picks are particularly effective tools, allowing for precise leverage without scratching the delicate lens surface. Insert these implements carefully under the protector’s edge, then apply gentle, consistent pressure. To further ease removal, some users recommend warming the protector slightly with a low-heat hair dryer or warm, damp towel to make the snap-on mechanisms more pliable, but this impact resistance technique should be used cautiously to prevent damage to internal components. Throughout the process, stabilize your device on a clean surface, use a microfiber cloth to prevent debris interference, and avoid sharp metal instruments that could compromise lens integrity or surrounding architecture.
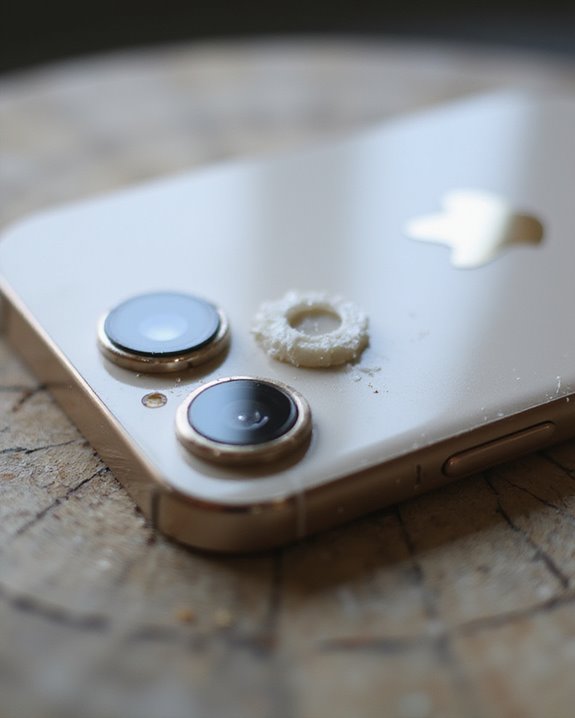
Dealing With Stubborn Adhesive Residue
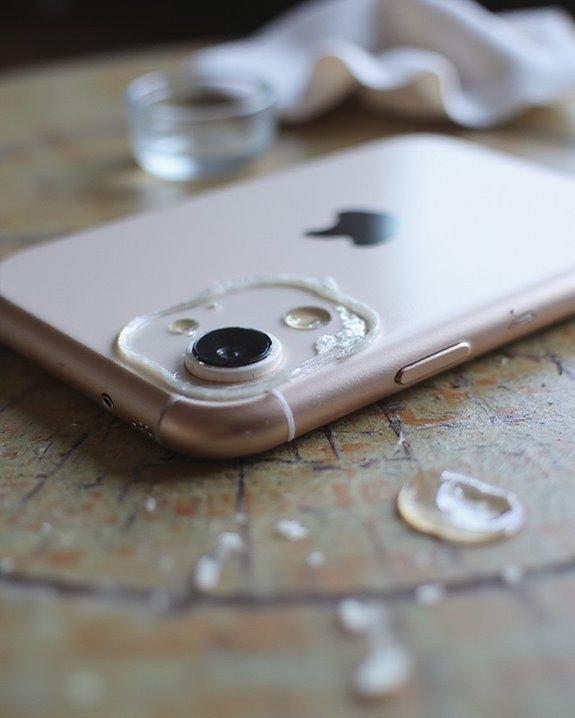
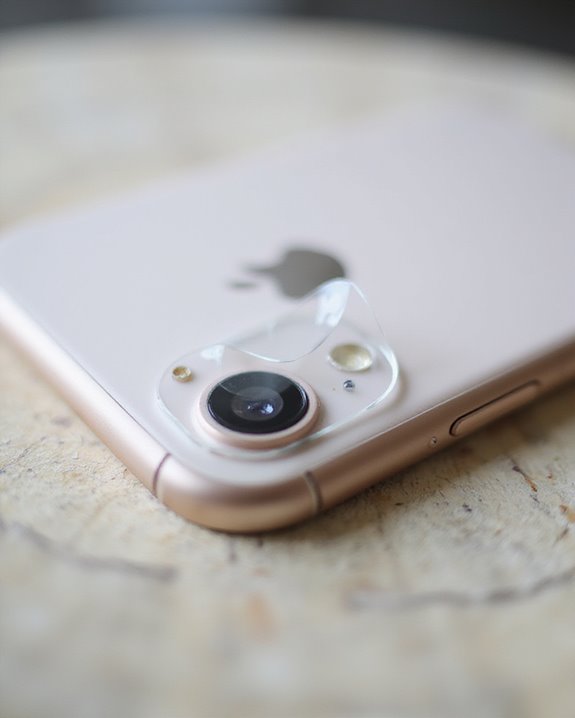
After successfully removing your iPhone’s camera lens protector, you’ll often encounter stubborn adhesive residue that can diminish your device’s aesthetic appeal and potentially affect photo quality. This residue, similar to what remains after removing furniture adhesive or wall stickers, requires careful attention to eliminate completely. Using a hydrophobic coating can help prevent residue buildup in the future, making cleaning easier and maintaining lens clarity. We recommend starting with isopropyl alcohol (70-91%) applied to a microfiber cloth, gently working in circular motions around the lens housing. For particularly tenacious residue, acetone-based nail polish remover can be effective, though it should be used sparingly on electronic devices. Alternatively, commercial products like Goo Gone offer specialized formulations that dissolve adhesives without damaging your iPhone’s delicate components. Always follow with a clean, slightly damp cloth to remove any chemical residue, ensuring your camera lens remains pristine for best photographic performance.
Preventing Damage During Lens Protector Removal
The safe removal of your iPhone’s camera lens protector begins long before you’ve dealt with any adhesive residue. We recommend using Glove Safety measures to prevent oils from your fingertips transferring to the sensitive camera components, as these can impair image quality and potentially cause long-term degradation to lens coatings. Surface Stability is equally critical; position your device on a flat, non-slip surface covered with a microfiber cloth to prevent scratches and provide adequate working space. When selecting tools, opt exclusively for non-metallic implements such as plastic cards or specialized pry tools, maintaining a 15-30° angle of insertion to distribute force evenly. Heat application should be limited to 10-15 second intervals at a distance of 6-8 inches, preventing thermal damage to the camera module’s internal components.
Cleaning Your Camera Lens After Protector Removal
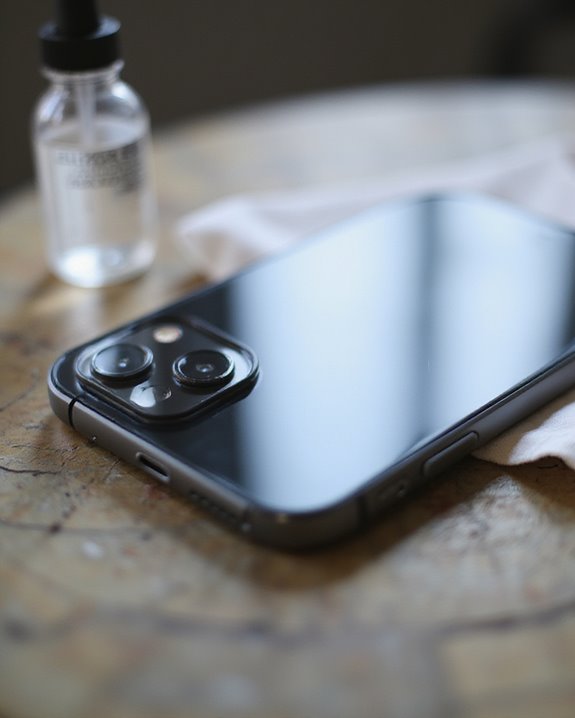
Proper maintenance of your iPhone’s optical components begins with a thorough cleaning session once you’ve successfully removed the lens protector. For ideal lens maintenance, we recommend utilizing specialized tools: lint-free microfiber cloths, ZEISS cleaning fluid for persistent smudges, and carefully applied compressed air for dust particles. When addressing fingerprints, apply gentle, unidirectional wiping motions rather than circular patterns, which can potentially create micro-abrasions on the lens surface. Using professional-grade cleaning kits can ensure the safest and most effective cleaning process for your camera lens.
Smudge prevention requires meticulous technique; make sure your cleaning cloth is slightly damp, not wet, to avoid moisture infiltration into camera openings. Never apply excessive pressure during cleaning, as this can damage the delicate optical coating. After cleaning, perform a thorough camera test to verify image clarity, and consider immediately applying a new lens protector to maintain ideal protection against environmental contaminants.
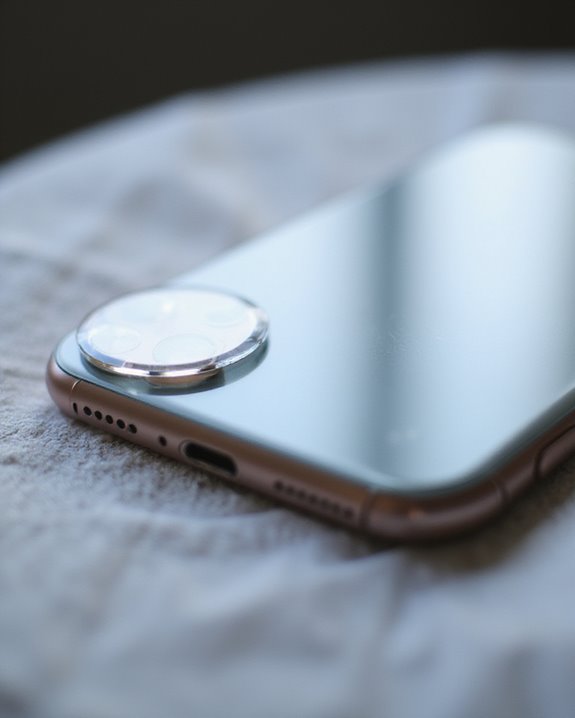
When to Replace Your Iphone Camera Lens Protector
Recognizing when your iPhone camera lens protector requires replacement can greatly impact the quality of your photography and the long-term protection of your device’s optical components. We recommend conducting regular inspections to identify common warning signs, including visible scratches, cracks, or smears that affect photo clarity. Your Usage Patterns greatly influence replacement frequency, with heavy users typically requiring more frequent changes to maintain ideal protection.
Consider the Cost Factors when planning replacements; third-party options offer savings but may void warranties, while premium protectors with lifetime warranties provide long-term value. If you notice decreased HD clarity in your images or compromised structural integrity of metal ring designs, immediate replacement is warranted. Remember that continuing to use damaged protectors exposes your expensive camera system to potential harm, which could result in greatly higher repair costs than preventative replacement.
Frequently Asked Questions
Can I Use Dental Floss to Remove a Stuck Camera Lens Protector?
Wondering about those stubborn protectors? We’ve tried it! Yes, dental floss can work as a gentle removal technique. We’d recommend it alongside heat, but keep plastic pry tools as floss alternatives when needed.
Does Removing Lens Protectors Void My Iphone Warranty?
No, we can assure you that removing lens protectors typically won’t void your iPhone warranty. Apple must prove the removal directly caused damage for warranty implications. Most void conditions require internal modifications, not external accessory removal.
How Often Should I Replace My Iphone Camera Lens Protector?
We recommend replacing your iPhone camera lens protector every 6-12 months, depending on wear indicators like scratches, haziness or peeling edges. Durability factors such as material quality and environmental exposure can affect replacement timing.
Can I Reuse a Camera Lens Protector After Removing It?
We’ve seen thousands of protectors ruined by improper removal! Yes, you can reuse them with proper Cleaning Methods—lint-free cloth and gentle soap—but Reuse Safety depends on undamaged adhesive and scratch-free surfaces. Heat helps preserve reusability!
Will Removing Protectors Damage the Oleophobic Coating on the Lens?
Yes, removing lens protectors can impact coating integrity if done carelessly. We recommend using plastic tools and gentle techniques to minimize damage. Assessment shows proper removal methods preserve most of the oleophobic coating’s functionality.