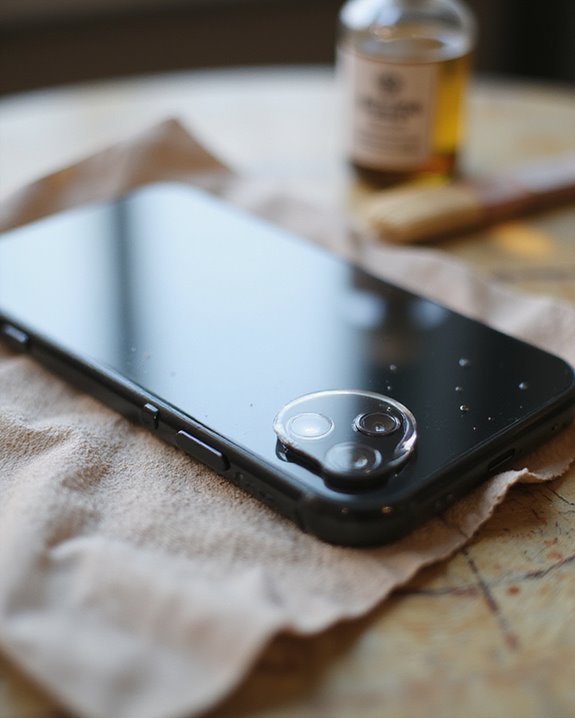
To protect your phone’s camera lens, apply a tempered glass protector with 9H hardness rating for maximum scratch resistance. Clean the lens thoroughly with alcohol wipes before installation, aligning precisely with your specific model. Daily maintenance includes wiping with microfiber cloths and avoiding direct finger contact with the lens. Replace protectors when signs of cracking, cloudiness, or adhesive failure appear, typically every 6-12 months depending on usage conditions. The following sections offer detailed guidance for maximizing your camera’s longevity and performance.
Key Takeaways
- Apply a tempered glass lens protector with 9H hardness rating designed specifically for your phone model.
- Clean camera lenses daily with microfiber cloths to remove fingerprints and prevent buildup of debris.
- Install lens protectors using the proper alignment method and maintain pressure for 30 seconds to ensure adhesion.
- Avoid direct touching of camera lenses to prevent transfer of skin oils that can degrade image quality.
- Replace lens protectors every 6-12 months or when signs of damage appear such as cracks or persistent cloudiness.
Understanding Why Phone Camera Lens Protection Matters
Why do smartphones, despite their advanced technology, remain vulnerable to everyday hazards that can damage their camera lenses? The answer lies in the delicate nature of camera components that, while engineered with premium materials like Sapphire Glass, still face risks during normal use. High-quality protection can significantly reduce the likelihood of damage and help maintain optimal camera performance. Scratches and damages to camera lenses directly impact image clarity, reducing photo quality and potentially interfering with facial recognition and other camera-dependent features. Additionally, lens protection contributes greatly to phone longevity, as maintaining pristine camera condition preserves resale value while preventing costly repairs. Environmental factors, including dust accumulation and moisture exposure, gradually degrade camera performance without proper protection. Camera lens protectors, designed with precision-cut, transparent materials, offer a practical solution that maintains functionality while safeguarding the lens against these common threats without compromising the smartphone’s aesthetic appeal.
Essential Types of Phone Lens Protectors to Consider
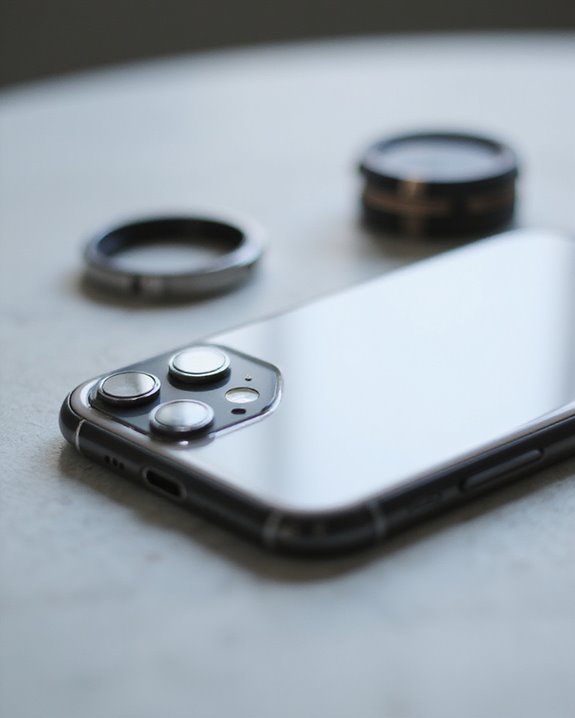
The marketplace offers a diverse range of phone camera lens protectors, each engineered with specific materials and designs to address various protection needs. Material choices include tempered glass, offering superior scratch resistance with a 9H hardness rating, polyurethane for flexibility and shock absorption, and chemically enhanced plastics that provide exceptional durability while maintaining clarity.
Design innovations have evolved to include precision manufacturing techniques that guarantee exact fits for specific device models, metal bezels for additional impact protection, and edge-to-edge coverage systems. Leading brands like ZAGG, Case-Mate, and Levelo incorporate advanced adhesive technologies that prevent bubbles during installation while maintaining transparency that doesn’t interfere with flash performance or image resolution. These protectors effectively maintain camera performance by preventing dust accumulation and minimizing potential damage from daily use.
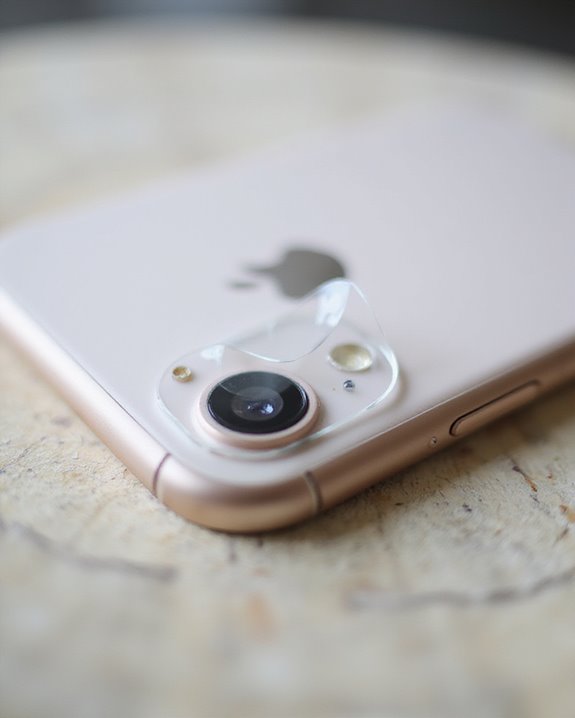
Step-by-Step Guide to Installing Lens Protectors Properly
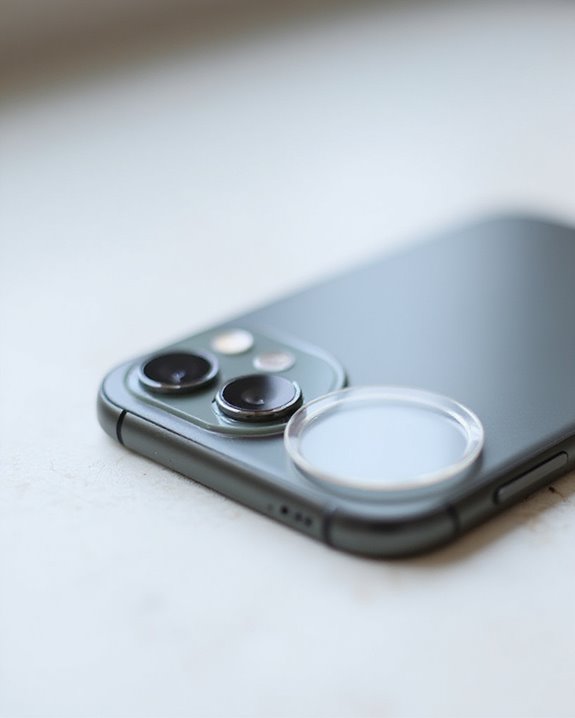
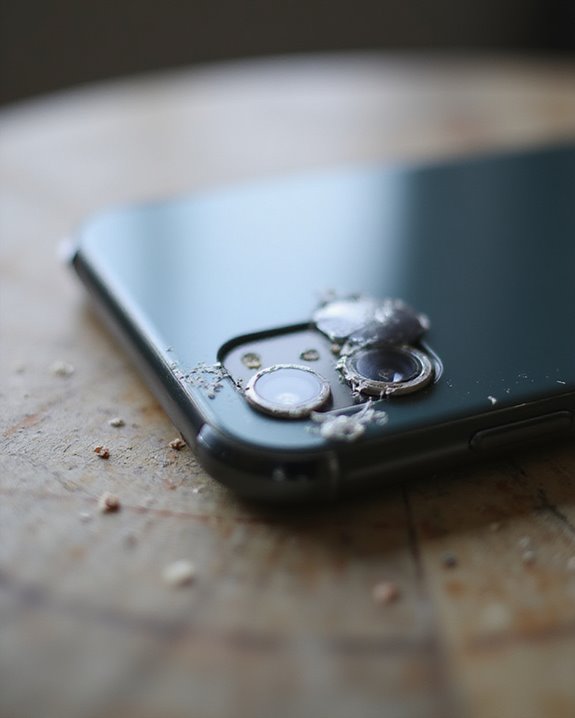
Installing phone camera lens protectors correctly requires meticulous attention to detail and proper technique to guarantee maximum protection without compromising image quality. Before installation, users should thoroughly clean the lens area with the included alcohol wipe and inspect the surface for any remaining debris.
Proper Adhesive Handling involves peeling the backing slowly without touching the adhesive layer, which prevents oils from transferring and compromising attachment. Alignment Tips include using the three-hole design for proper orientation on models like iPhone 15 Pro, performing a dry-fit check before committing to placement, and utilizing installation frames for even pressure application. After installation, users should maintain pressure for 30 seconds in alignment-sensitive areas, then verify camera functionality by testing autofocus and examining edges for proper adhesion.
Daily Maintenance Tips for Long-Lasting Lens Protection
Consistently maintaining your phone’s camera lens protection requires more than just installing quality protectors; it demands establishing a proper care routine to preserve image quality and extend the lifespan of protective accessories. Implementing daily lens wiping with microfiber cloths prevents smudges and fingerprints from compromising photo quality, while specialized lens cleaning solutions can tackle stubborn residue without damaging protective coatings. Using a camera lens cleaning kit with tools like microfiber cloths, cleaning solutions, and air blowers can further enhance your maintenance routine and ensure optimal clarity. A regular daily inspection schedule should include checking the lens before important photography sessions and after outdoor use when dust accumulation is common. Users should avoid touching the lens directly, as skin oils transfer easily to the surface, and store devices in protective cases when not in use. For ideal maintenance, combine gentle blower brushes for loose debris removal with careful cleaning using non-abrasive materials.
When to Replace Your Phone Camera Lens Protectors
Recognizing when to replace your phone camera lens protectors involves monitoring specific signs of deterioration that affect both protection capability and image quality. Visible cracks, adhesive failure, persistent cloudiness, or stubborn residue that cannot be removed with cleaning indicate immediate replacement needs. Additionally, if photos show focusing issues, reduced sharpness, or color distortion, the protector is likely compromising camera performance.
Budget considerations need not be prohibitive, as many high-quality protectors are available at reasonable prices, especially when purchased in multi-packs. Professional advice suggests replacing lens protectors every 6-12 months depending on usage conditions, or immediately following significant impact or damage. Environmental factors, such as extreme temperature exposure or prolonged UV radiation, can accelerate deterioration of adhesive quality and optical clarity, necessitating more frequent replacement.
Frequently Asked Questions
Do Lens Protectors Affect Image Quality or Cause Light Flares?
Lens protectors can affect image quality through potential sharpness reduction. Low-quality protectors may cause reflection issues and light flares. High-quality options minimize these impacts with better optical clarity and light transmission properties.
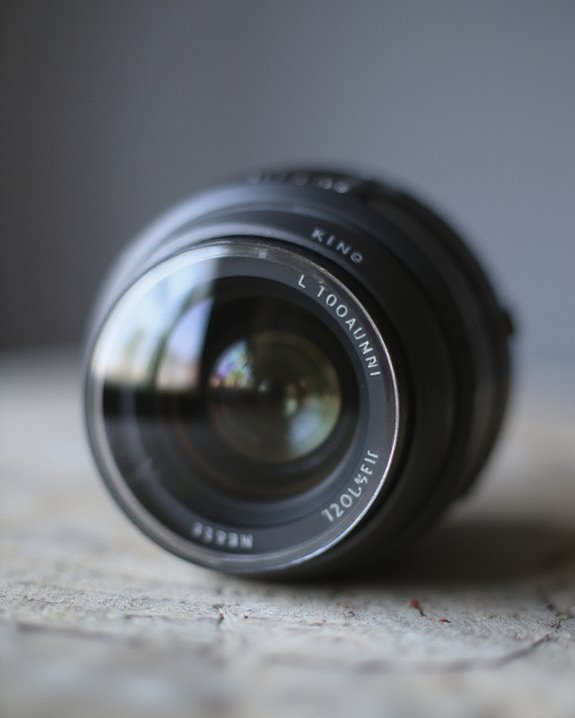
Can I Use DSLR UV Filters on Smartphone Cameras?
DSLR UV filters can be used on smartphones with appropriate filter adapters. While technically compatible, this setup requires additional mounting accessories. Cost comparison should consider dedicated smartphone filters versus DSLR filters plus adapters.
Will Lens Protectors Interfere With Night Mode Photography?
Like a prism refracting light, lens protectors often create unwanted reflections during night photography. Regular lens cleaning is essential, as is tripod stability. Most protectors should be removed for ideal night mode results.
Are Waterproof Lens Protectors Necessary for Underwater Photography?
Waterproof lens protectors are essential for underwater photography, requiring verified depth ratings through waterproof testing. They prevent water damage, lens fogging, and distortion when submerged, with specialized options needed for different underwater conditions.
How Do I Remove Stubborn Air Bubbles After Installation?
For stubborn air bubbles, one should apply heat with a hairdryer on low setting to soften the adhesive. Proper bubble prevention begins with meticulous surface cleaning and effective application methods using center-outward pressure techniques.