To replace an iPhone camera lens, we’ll need specialized tools including anti-static equipment, heat application tools, and precision screwdrivers. First, power off the device, apply heat (approximately 80°C) to soften adhesives, then carefully pry the damaged lens using plastic spudgers. Clean the housing thoroughly with microfiber cloth and compressed air before installing the OEM-compatible replacement lens, ensuring perfect alignment to prevent light leakage. Testing with sample photos confirms successful installation. The following steps will guide you through each critical phase of this delicate repair.
Key Takeaways
- Power off your iPhone and use anti-static protection before beginning lens replacement to prevent electrical damage.
- Apply controlled heat with a hair dryer or heat gun to soften the adhesive holding the camera lens.
- Use specialized tweezers and plastic spudgers to carefully pry and remove the damaged lens.
- Clean the camera housing thoroughly with microfiber cloth and compressed air before installing the new lens.
- Ensure your replacement lens matches your exact iPhone model number for proper fit and functionality.
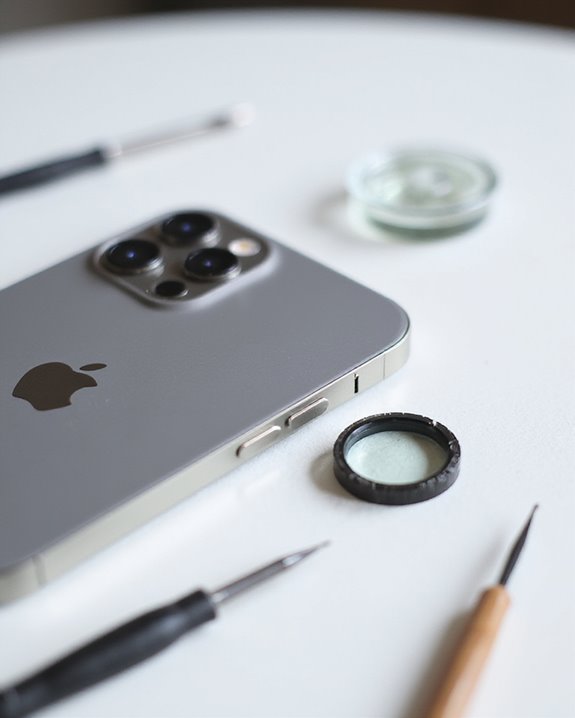
Essential Tools for Iphone Camera Lens Replacement
The precise selection of tools for iPhone camera lens replacement is critical to guaranteeing a successful repair without causing additional damage to your device. We recommend investing in specialized tweezers for handling minuscule components, as this Tool Innovation greatly reduces the risk of damaging the delicate lens assembly. Additionally, heat application tools such as an iOpener, heat gun, or hair dryer are essential for softening adhesive bonds prior to removal. Using OEM kits with pre-installed adhesives can help ensure a factory-quality repair and reduce installation errors. For proper workspace preparation, we utilize anti-static mats and wrist straps to prevent ESD damage to internal components, representing substantial Cost Savings compared to replacing entire units. Precise screwdrivers—typically Pentalobe and Phillips—are required for accessing the camera assembly. Complete your toolkit with Q-tips for cleaning the lens area and guarantee adequate lighting for ideal visibility during the precision repair process.
Identifying the Right Replacement Lens for Your Iphone Model
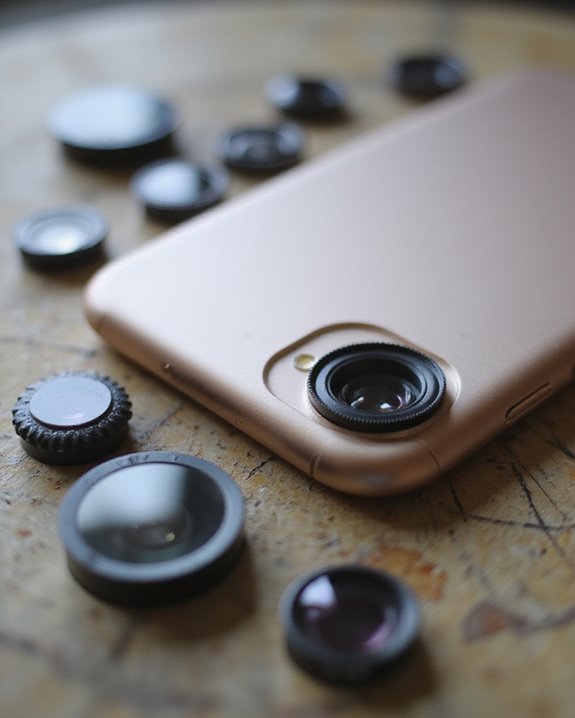
With proper tools now assembled, locating and selecting the appropriate replacement lens becomes our next challenge in restoring your iPhone’s camera functionality. Lens compatibility is paramount, as replacement options are typically model-specific for devices like iPhone 13 or iPhone 14 Pro. We’ll need to meticulously verify that the lens dimensions match your exact model to prevent fitment issues that could render the camera inoperable. Ensuring the OEM-quality glass matches the original specifications is essential for maintaining optimal photo quality and device performance. When evaluating brand options, consider the trade-offs between OEM and third-party replacements. OEM lenses offer superior quality and guaranteed compatibility but at premium prices, while third-party alternatives provide cost efficiency with variable quality. Always check product descriptions, packaging information, and compatibility guarantees before purchase, and prioritize suppliers with detailed installation guides and generous return policies, especially when dealing with microscopic components that require precise installation.
Preparing Your Workspace for a Successful Repair
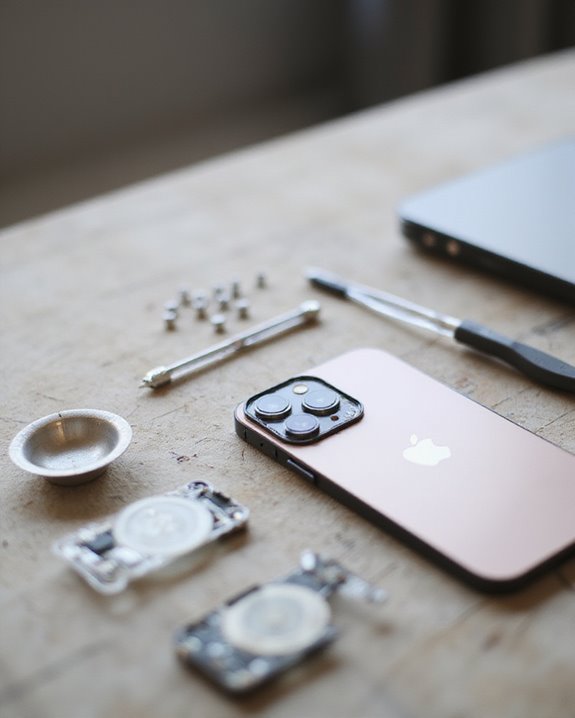
Before diving into the delicate process of replacing your iPhone camera lens, creating an ideal workspace environment isn’t just recommended—it’s essential for preventing costly mistakes and component damage. For ideal workspace setup, we’ll need a clean, spacious area with anti-static protection, including a mat and wrist strap to prevent electrostatic discharge that can silently damage sensitive components. Ensuring the use of OEM-quality sapphire glass can help maintain the original picture quality and durability of your camera lens. Lighting arrangement is critical—position a bright, adjustable lamp to illuminate the small components without casting shadows. We recommend using a magnetic project mat to organize and secure tiny screws in their original positions, preventing loss and ensuring proper reassembly. Additionally, keep essential tools within reach: precision screwdrivers, plastic spudgers, tweezers, isopropyl alcohol, and lint-free microfiber cloths for maintaining cleanliness throughout the repair process.
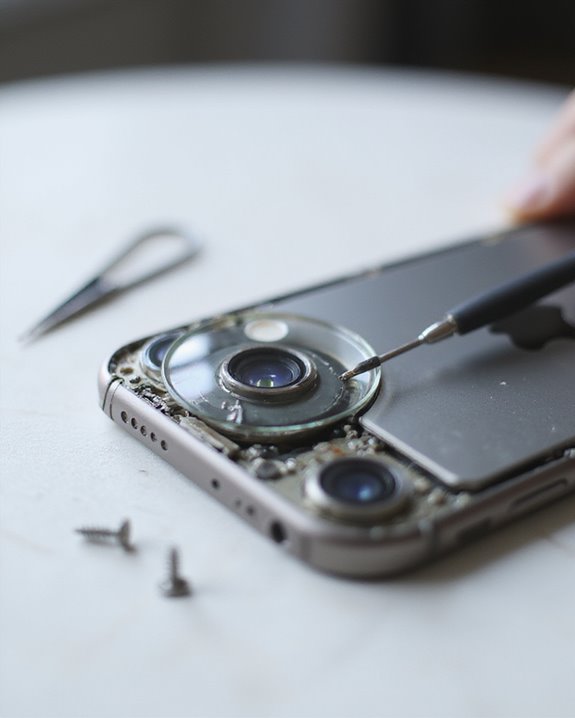
Safely Removing the Damaged Camera Lens
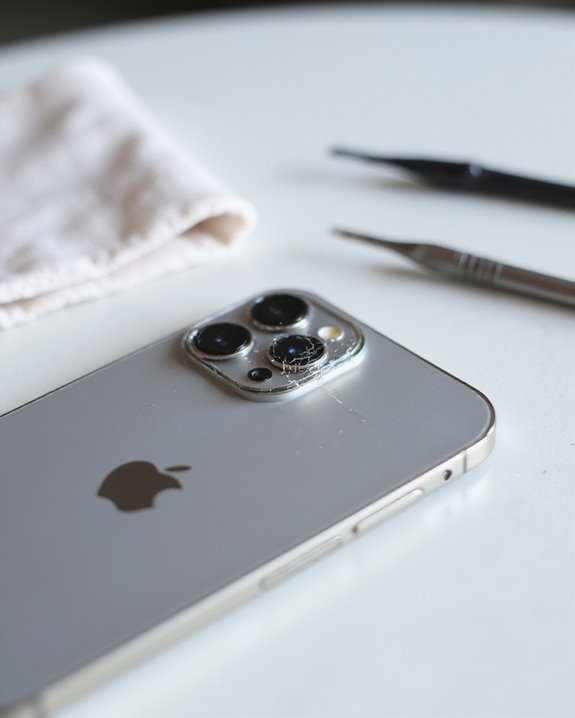
Now that our workspace is properly set up, we’ll focus on the challenging task of safely removing your iPhone’s damaged camera lens. First, power off your device and make sure you’re wearing an anti-static wrist strap to prevent electrical damage. For injury prevention, handle broken glass fragments with extreme care, possibly using tweezers to avoid cuts.
When working with adhesives, we’ll employ controlled heat safety techniques. Using a heat gun set to low temperature (approximately 80°C), apply warmth evenly around the lens assembly to soften the adhesive. Be cautious not to overheat, as this can damage internal components. Once sufficiently warm, utilize spudgers or plastic picks to carefully pry the lens from its housing. Work methodically around the perimeter, gradually increasing pressure while maintaining control to prevent slippage and potential damage to surrounding circuitry.
Cleaning the Camera Housing Before Installation
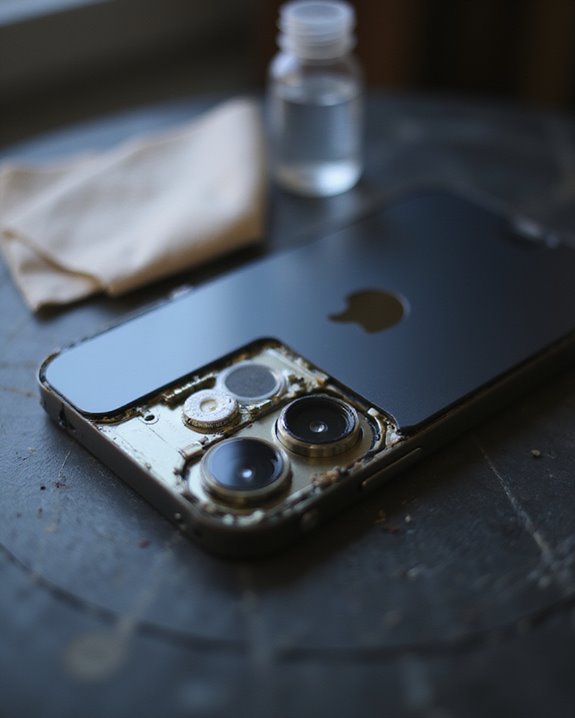
After successfully removing the damaged lens, proper cleaning of the camera housing becomes essential to guarantee ideal functionality of your new iPhone camera lens. We’ll employ microfiber cloths and compressed air to prepare the housing surface, removing all debris that could compromise image quality. Using gentle circular motions with a dry microfiber cloth, we’ll first remove surface particles before addressing any persistent smudges with lens cleaning solution—never spraying directly on components.
For Fog Prevention, inspect the housing under bright light to identify condensation residue or microscopic particles. Remove any moisture completely to prevent future fogging issues. Regarding Storage Tips, keep your disassembled device in a clean, dry environment during the repair process to avoid dust contamination. Maintaining these preventive measures will greatly reduce the risk of post-installation image degradation, ensuring peak camera performance after reassembly.
Installing the New Lens Correctly
With the camera housing properly cleaned and prepared, we’re ready to focus on the precise placement of your new iPhone lens. Proper Lens Maintenance begins with careful handling of the replacement component, making sure you avoid touching the adhesive surface directly with your fingers, which can compromise the bonding process.
For ideal Adhesive Tips, position the lens precisely over the camera module, confirming it’s perfectly centered before applying gentle, even pressure to secure it in place. When working with OEM-quality components, we’ll need to verify the lens sits completely flush with the housing, as even minimal misalignment can cause light leakage or focusing issues. Hold the lens firmly for 30-45 seconds to allow the adhesive to create an initial bond, then inspect the perimeter to make sure no excess adhesive has extruded around the edges.
Testing Camera Performance After Replacement
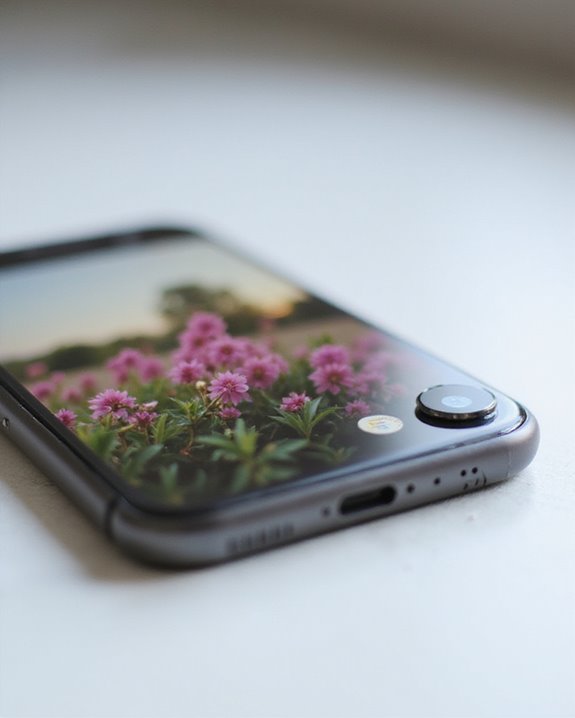
Once you’ve successfully installed the new lens, thorough testing becomes essential to guarantee your iPhone’s camera functions ideally across all conditions. Begin with a visual inspection for cracks or fingerprints that might compromise image clarity, then capture test photos in various lighting environments to evaluate resolution consistency.
Perform a thorough stabilization test by recording video while moving to verify that optical image stabilization functions correctly. We recommend using iOS diagnostic tools to analyze sensor-lens alignment and running multiple focus tests to identify calibration needs. Compare your results against benchmarks from identical iPhone models, particularly in challenging scenarios like low-light conditions. Monitor performance over several days, as issues with adhesion or alignment may manifest gradually, requiring additional adjustments or professional calibration for best results.
Frequently Asked Questions
Will a Replacement Lens Affect My Iphone’s Water Resistance?
Yes, replacing your iPhone’s camera lens will compromise its waterproof integrity. We’ve found that original seal durability can’t be perfectly restored during replacement, even with proper adhesive. We’d recommend avoiding water exposure afterward.
Can I Replace Just One Lens in a Multi-Camera Setup?
Like a symphony orchestra needing every instrument in tune, we don’t recommend replacing just one lens. The multi-camera setup’s lens compatibility and setup balance require precise calibration that individual replacements typically disrupt.
How Do I Prevent Dust From Getting Inside During Replacement?
We’ll help you prevent dust! Work in a clean workspace, use anti-static precautions, and apply adhesive for tight sealing. Wear gloves to avoid fingerprints and temporarily cover any openings during the replacement process.
Does Lens Replacement Void Apple’s Warranty?
Yes, DIY lens replacement voids Apple’s warranty. We’d caution you about legal implications of unauthorized repairs. Unless performed by Apple-certified technicians, you’ll lose warranty extensions and protection benefits on your device.
How Can I Distinguish Between Lens Damage and Internal Camera Failure?
Like a detective searching for clues, we’ll help you with Lens Diagnosis. We can distinguish lens damage by inspecting for visible scratches, while Failure Testing with different camera apps reveals internal issues. Try both approaches!