To remove a camera lens protector safely, apply gentle heat with a hair dryer for 30 seconds to loosen the adhesive. Insert a plastic tool, guitar pick, or playing card at the edge, then slowly lift while working around the perimeter. Avoid metal tools that might scratch the lens. After removal, clean any residue with isopropyl alcohol on a microfiber cloth using circular motions. Proper technique prevents damage to your valuable camera equipment during this delicate procedure.
Key Takeaways
- Apply gentle heat using a hair dryer in circular motions for 30 seconds to soften the adhesive.
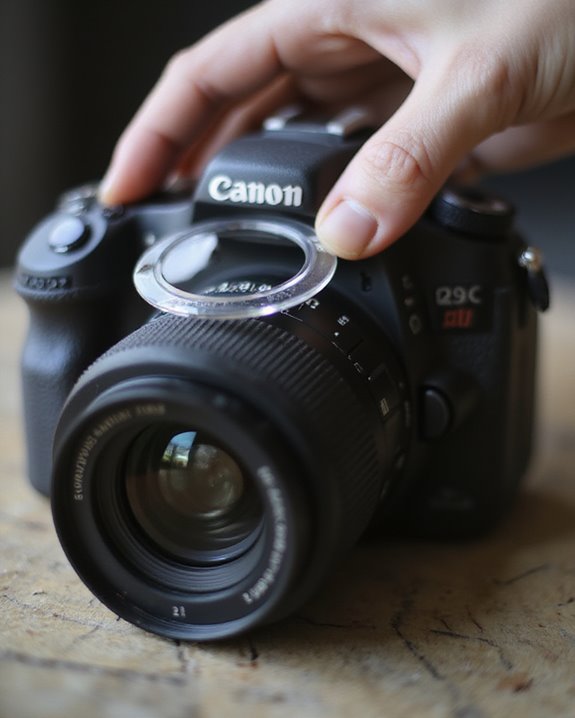
- Insert a plastic pry tool or guitar pick at the edge of the protector to avoid scratching the lens.
- Lift slowly from one corner, alternating with heat application for stubborn areas.
- Work in a clean, dust-free environment with the camera lens facing downward to prevent contamination.
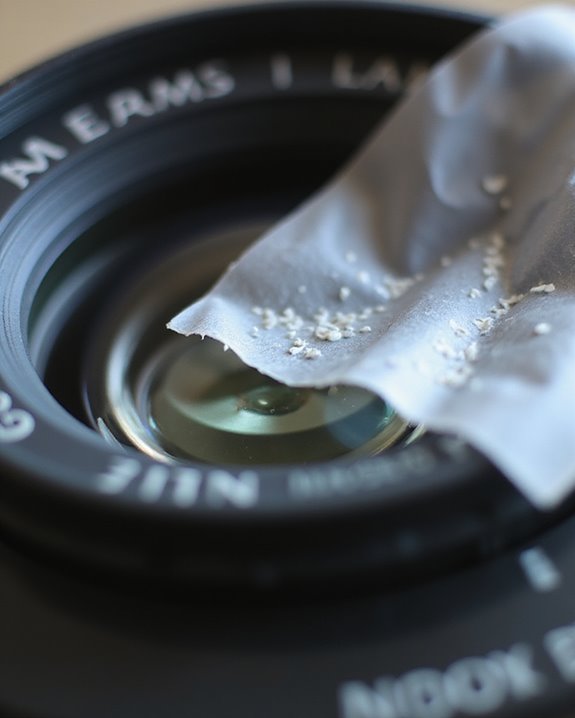
- Remove any residual adhesive with isopropyl alcohol on a microfiber cloth using gentle circular motions.
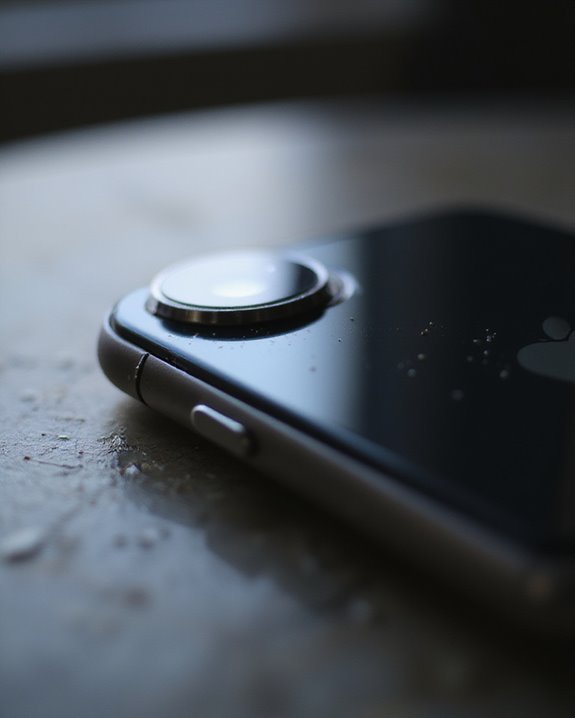
Understanding Camera Lens Protectors
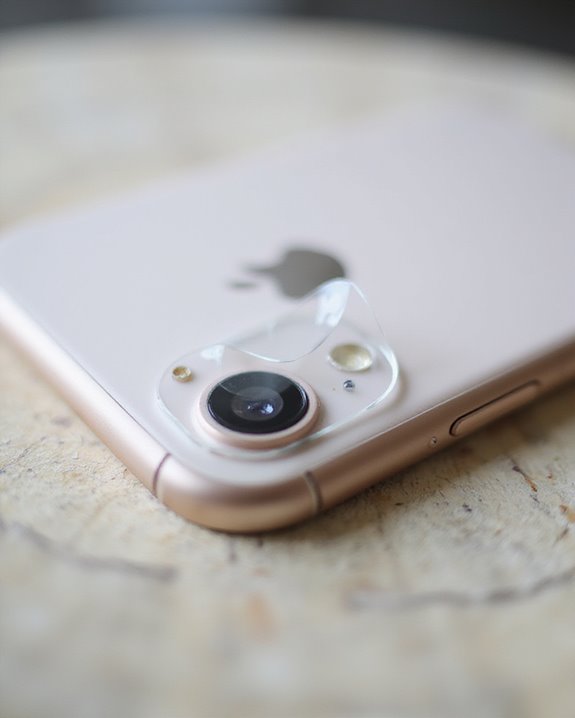
Camera lens protectors serve as the first line of defense for valuable photography equipment, providing essential protection against various potential hazards. These protective accessories come in several forms, including UV filters, clear filters, and polarizing filters, each manufactured using different Filter Materials such as glass, resin, or tempered glass for smartphone applications. Glass filters remain the most common due to their superior durability and optical clarity. Additionally, many high-quality protectors feature oleophobic coatings that minimize fingerprints and water spots, further enhancing lens longevity and image quality.
The Protection Benefits extend beyond mere scratch prevention, as lens protectors shield against moisture in humid environments, prevent dust accumulation on sensitive lens elements, and offer an affordable insurance policy against costly lens replacements. Additionally, many high-quality protectors feature anti-reflective coatings that minimize unwanted glare while maintaining image quality. For photographers working in challenging conditions, these protectors represent a practical investment that preserves equipment longevity while maintaining optical performance.
Essential Tools for Safe Removal
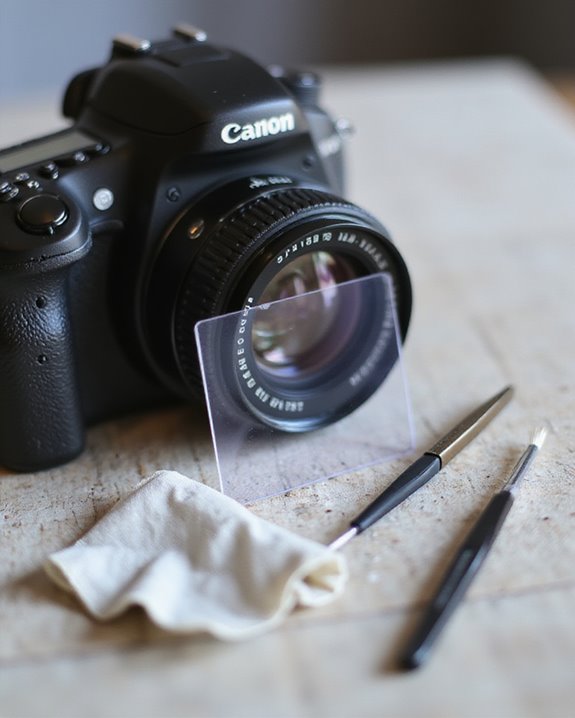
While lens protectors provide valuable defense for photography equipment, their eventual removal requires specific tools to prevent damage to the underlying lens. Heat application devices, such as low-setting hair dryers or heat guns, should be operated at a minimum 6-inch distance using 30-second intervals in circular motions to evenly soften adhesives. For prying, portable tools like plastic pry tools, guitar picks, and playing cards offer non-scratching alternatives to metal implements, perfect for custom modifications to sensitive equipment. Proper cleaning supplies, including microfiber cloths, lens solution, and isopropyl alcohol, facilitate residue removal without damaging optical surfaces. Safety precautions demand nitrile gloves to prevent fingerprint transfer, maintaining the lens in a face-down position, and exercising patience throughout the process to minimize risk of breakage. Employing anti-magnetic stainless steel tools can enhance precision and control during removal to avoid scratching or damaging delicate components.
Preparing Your Workspace and Camera
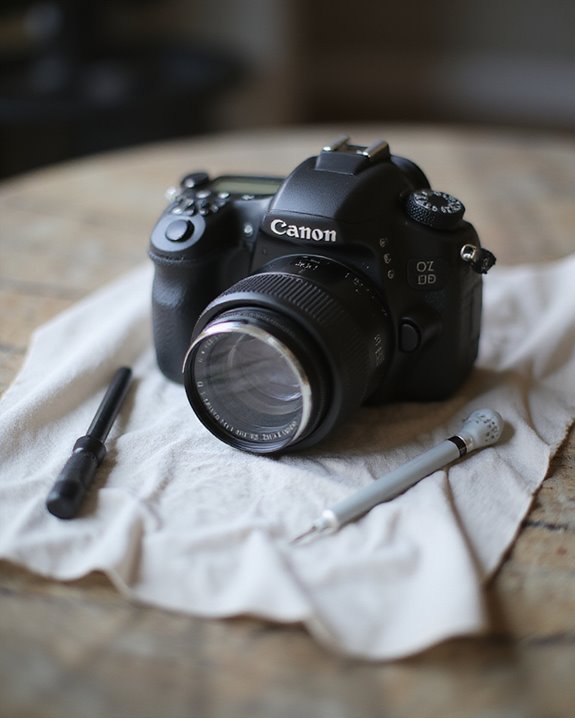
Creating an ideal environment stands as a critical first step before attempting to remove any camera lens protector. Proper Workspace Hygiene requires a dust-free area with clean, dry surfaces to prevent contamination that could damage the sensitive lens. Users should thoroughly wash their hands before beginning and handle the camera by its edges to minimize oil transfer, which can cause smudging. Ensuring the use of high-quality lens covers can also help protect against accidental scratches during the removal process. Temperature Control plays a significant role in the success of lens protector removal, as extreme temperatures may damage adhesives. The workspace should remain at room temperature, away from direct sunlight or heat sources that could affect the camera components. If adhesive loosening becomes necessary, only low-temperature heat sources should be applied indirectly. Additionally, users should ground themselves before handling electronic components to prevent static electricity damage, particularly in dry environments.
Step-by-Step Removal Technique
The actual removal process begins after establishing proper workspace conditions, requiring specific tools and techniques for safe lens protector extraction. Users should first apply heat using a hair dryer or heat gun at 6 inches distance for 30 seconds, moving in circular motions to soften adhesive, contrary to popular Technique Myths suggesting immediate prying.
Once adhesive loosens, experts recommend identifying any raised edge and gently inserting a plastic pry tool or guitar pick, avoiding metallic implements that could cause permanent scratches. The protector should be lifted slowly from one corner, alternating between gentle heat application and careful lifting. Various Removal Hacks suggest using toothpicks for precision work on stubborn edges, while maintaining even, controlled movements to prevent sudden detachment that might damage the underlying camera lens.
Dealing With Stubborn Adhesive Residue
Removing the lens protector successfully marks only the first step in the complete restoration process, as stubborn adhesive residue often remains firmly attached to the camera surface. Photographers should consider both effectiveness and Health Risks when selecting a removal method, prioritizing gentler options first.
For most camera surfaces, isopropyl alcohol applied with a microfiber cloth offers an ideal balance between cleaning power and safety, while Eco Solutions like coconut oil provide non-toxic alternatives for those with chemical sensitivities. Heat application using a hair dryer on low setting for 1-2 minutes can soften stubborn residue, allowing removal with a plastic scraper held at a 45° angle. When working near electronic components, proper ventilation becomes essential to prevent fume inhalation, and testing any solution on an inconspicuous area first will prevent potential damage to delicate camera surfaces.
Lens Care After Protector Removal
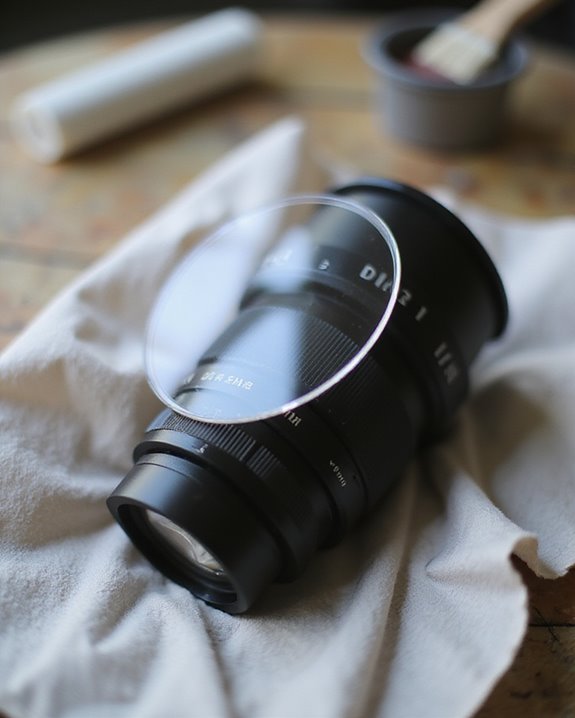
Once adhesive residue has been thoroughly removed, proper lens care becomes the next critical phase in maintaining ideal camera performance. Photographers should carefully inspect the lens surface under bright light, checking for scratches, chips, or any damage that could affect image quality. This Quality Monitoring step establishes a baseline condition record that helps track changes over time.
For effective cleaning, users should employ a systematic approach: first using an air blower to remove dust particles, then applying a small amount of lens-specific solution to a microfiber cloth. Damage Prevention requires gentle, circular motions from the center outward, avoiding excessive pressure on delicate coatings. Photographers should perform maintenance in dust-free environments, keeping hands clean and dry throughout the process. Before installing a new protector, make sure the lens is completely clean and properly dried.
Frequently Asked Questions
Can I Use Cooking Oil to Loosen Stubborn Lens Protector Adhesive?
Over 90% of electronics repair professionals advise against cooking oil for adhesives. Users seeking adhesive hacks should pursue oil alternatives like isopropyl alcohol or a low-heat hairdryer, which won’t compromise lens integrity or leave residue.
Will Removing the Protector Void My Camera’s Warranty?
Removing camera lens protectors typically voids warranty due to manufacturer policies classifying it as hardware modification. Warranty implications vary by brand, but most consider physical tampering grounds for void concerns, even without visible damage.
How Often Should Camera Lens Protectors Be Replaced?
Camera lens protectors should be replaced every 3-12 months depending on material quality. Plastic lasts 3-6 months while tempered glass extends to 6-12 months. Usage impact and environmental longevity factors may necessitate more frequent replacements.
Can Lens Protectors Be Reused After Removal?
Camera lens protectors generally aren’t designed for reuse after removal. Material durability degrades during the removal process, and adhesive integrity is compromised. While reuse benefits would include cost savings, manufacturers typically recommend single-use application for maximum protection.
Is It Safe to Remove Protectors in Humid Environments?
Removing lens protectors in humid environments presents significant risks. Humidity safety concerns include condensation formation and potential fungal growth. Moisture effects can damage both protectors and primary lenses if proper acclimation procedures aren’t followed.