Converting a camera lens into a telescope requires a telephoto lens (200-300mm focal length), an eyepiece (20-50mm), and basic mounting materials. The camera lens serves as the objective element to gather light, while the eyepiece magnifies the image. Assembly involves securing the lens to a sturdy tube, constructing a focuser, and mounting on a stable tripod. Best results come from prime lenses with large apertures and manual focus capabilities. The following instructions detail each critical conversion step.
Key Takeaways
- Mount a telephoto lens (200-300mm focal length) on a sturdy tube and add a suitable eyepiece (20-50mm) for magnification.
- Ensure proper alignment of all optical elements with baffles to reduce stray light and improve image quality.
- Construct a DIY focuser mechanism to adjust the distance between the camera lens and eyepiece for optimal viewing.
- Secure the converted telescope on a stable tripod or equatorial mount to minimize vibrations during observation.
- Pair prime lenses with larger apertures (lower f-stop values) for better light-gathering capability in astronomical viewing.
How To Turn A Camera Lens Into A Telescope
Transforming a standard camera lens into a fully functional telescope requires several specialized components and careful assembly techniques. The process involves securing adapters and mounts to connect the lens to an eyepiece holder, selecting appropriate eyepieces for desired magnification, and incorporating prisms to correct the optical path. Educational benefits emerge as users learn practical applications of optical physics while constructing their own viewing instruments.
The conversion typically requires drilling a centered hole in the lens cap, removing camera mounts to accommodate adapters, and using epoxy glue to secure components firmly in place. Commercial applications exist for these conversions, particularly for wildlife observation and astronomy. Telephoto lenses prove ideal for telescope conversion due to their long focal lengths, while proper maintenance guarantees ideal performance. Regular cleaning of optical components and secure storage prevent damage and maintain image clarity.
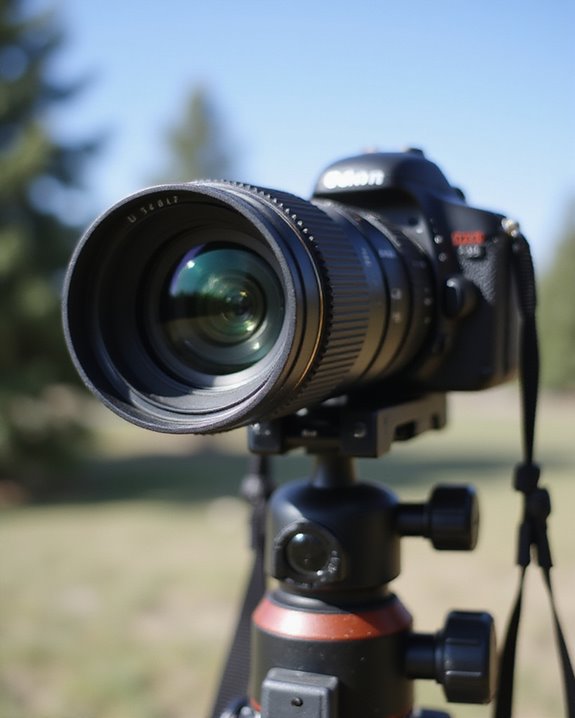
Selecting the Right Camera Lens for Conversion
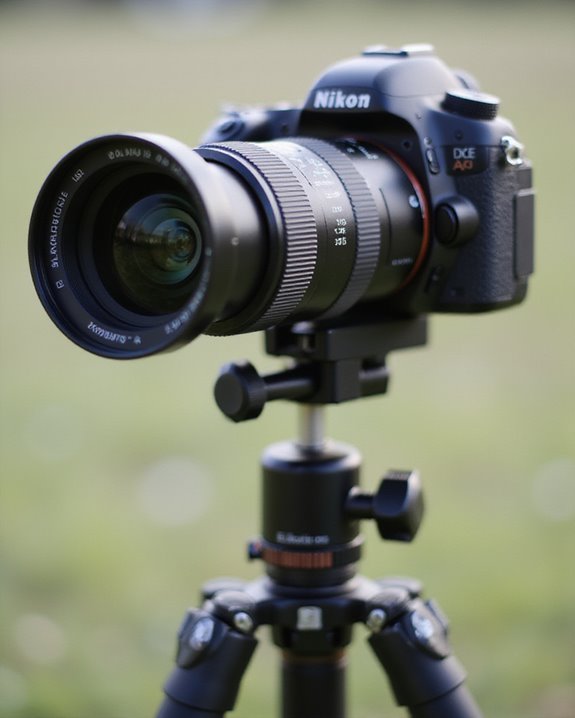
When selecting a camera lens for telescope conversion, photographers must carefully evaluate several critical characteristics to achieve ideal astronomical viewing results. Telephoto and manual focus lenses with longer focal lengths typically offer superior performance due to their inherent magnification capabilities and simplified adaptation process. The aperture size greatly impacts light-gathering ability, with larger apertures and lower f-stop values proving advantageous for observing faint celestial objects. Additionally, choosing lenses with effective vibration compensation systems can help reduce image shake during long exposures, enhancing overall viewing clarity. Budget options exist, particularly among older manual focus lenses that lack electronic components yet provide excellent optical quality. Proper lens maintenance becomes essential post-conversion, as dust or fungus can severely degrade viewing quality. Photographers should consider compatibility with mounting adapters and filter threads, ensuring the converted system can accommodate astronomical filters while maintaining optical alignment throughout the adapted assembly.
Essential Tools and Materials for the Project
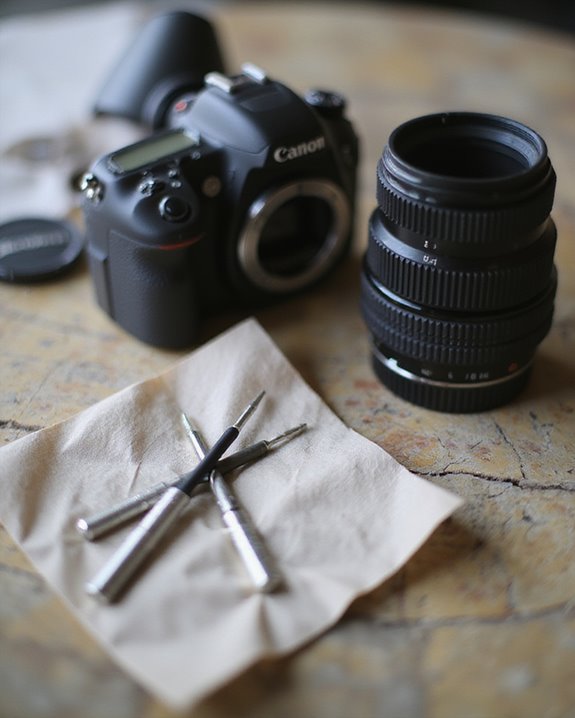
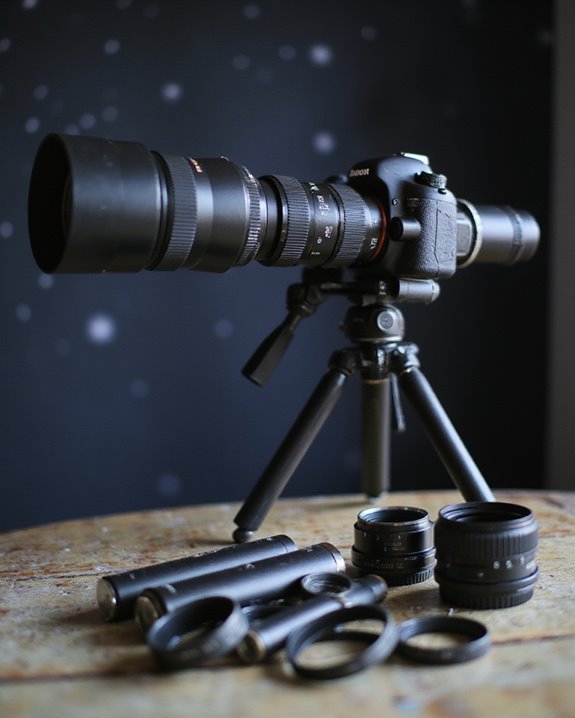
The assembly of a camera lens telescope conversion requires a precise collection of materials and tools that determine the quality of the final astronomical instrument. At the core of this project lies the telephoto camera lens (200-300mm focal length), which serves as the objective, paired with convex lenses (20-50mm) for the eyepiece component. Material sourcing should prioritize quality optical elements, as inferior lenses will compromise viewing clarity regardless of construction precision. Using high-quality optical quality elements ensures sharp, clear images and minimizes distortions during observation. Basic assembly tools include a drill with appropriate bits, measuring implements, and adhesives for securing components. Tool safety remains paramount when working with optical equipment, as improper handling can damage delicate glass elements or create hazards from fragmented materials. Supplementary items, such as black paint or tape to reduce internal reflections, and a stable mounting system like a tripod, greatly enhance the telescope’s functionality and viewing experience.
Understanding the Optical Principles Behind the Conversion
Understanding the optical principles that govern telescope functionality forms the foundation of any successful camera lens conversion project. The basic concept relies on the camera lens serving as the objective element that gathers and focuses light, similar to a telescope’s primary mirror or lens. When properly adapted with an eyepiece, the lens creates a magnified virtual image for viewing celestial or distant terrestrial objects. Using appropriate solar filters during this process is essential to protect both the lens and the observer from harmful radiation. Camera telephoto lenses, particularly those with longer focal lengths, naturally lend themselves to telescope conversion due to their light-gathering capabilities. Advanced users may explore how polarization effects impact image clarity when viewing certain subjects, especially through atmosphere. Additionally, understanding interference patterns helps photographers-turned-astronomers recognize and mitigate optical anomalies that might appear during observation. The conversion fundamentally transforms the lens’s original purpose from image projection onto a sensor to creating a focused beam suitable for eyepiece magnification.
Step-by-Step Assembly of Your DIY Telescope
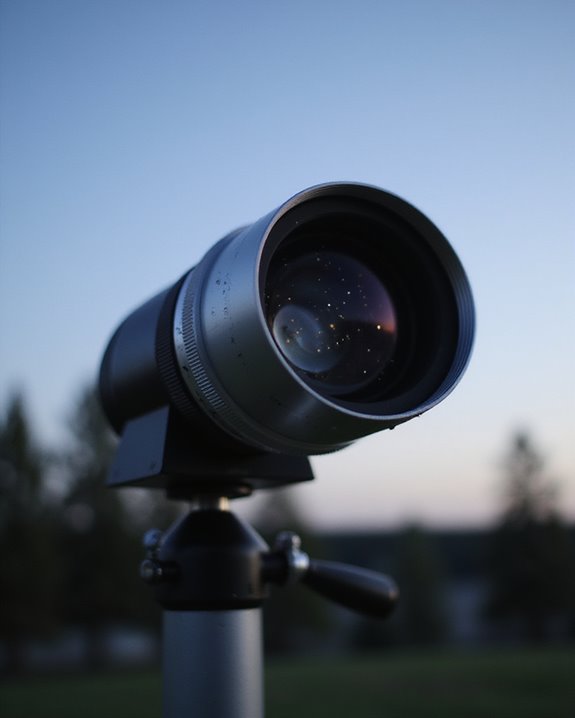
Transforming optical theory into a functional DIY telescope requires careful assembly of several key components, beginning with the selection of appropriate materials and tools. The assembly techniques begin with mounting the camera lens at one end of a sturdy tube made from PVC, cardboard, or wood, ensuring the tube length matches the lens’s focal length. Proper alignment of optical elements is critical, requiring precise positioning of baffles to reduce stray light and enhance image quality.
The construction of a DIY focuser represents a vital element, allowing for smooth adjustment of the eyepiece distance. Finishing methods include securing all components with appropriate adhesives or fasteners, followed by thorough collimation to guarantee optical alignment. Final assembly requires testing with various eyepieces to achieve ideal magnification and field of view for celestial observation.
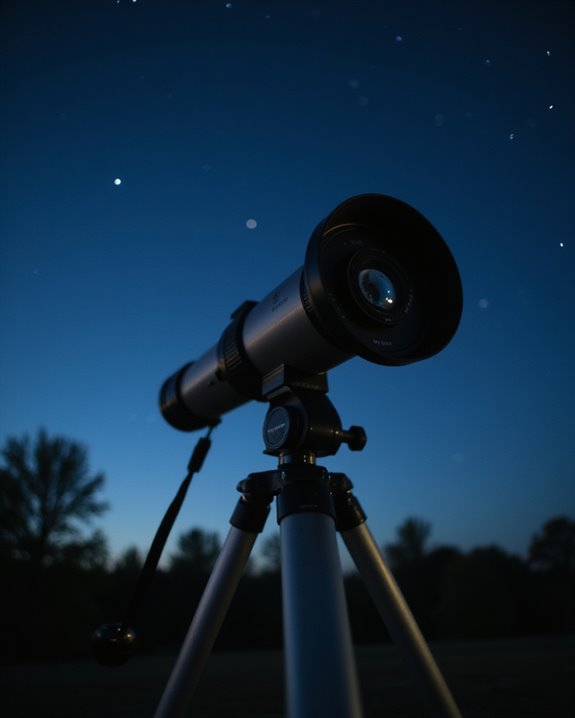
Mounting Options for Stability and Usage
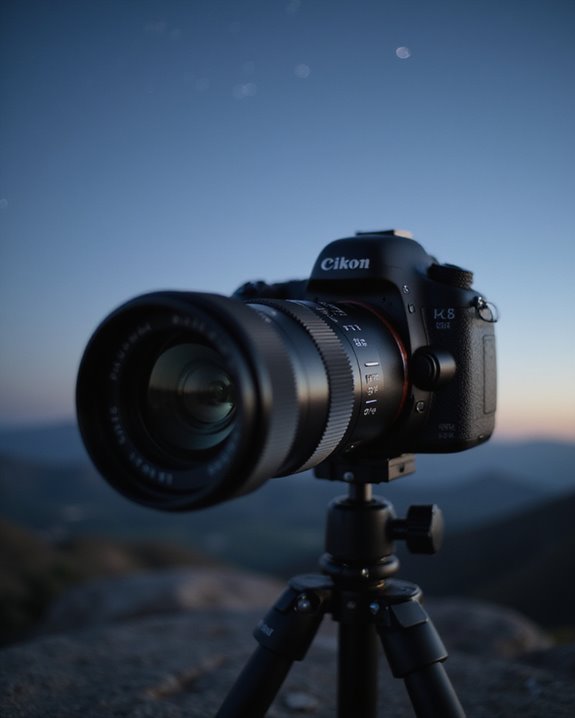
Proper mounting solutions form the backbone of any successful DIY telescope project, guaranteeing both stability and functionality when using a repurposed camera lens for astronomical observation. Equatorial mounts represent the ideal choice for astrophotography, tracking celestial objects smoothly across the sky without rotation issues that plague simpler systems.
For securing camera lenses, T-ring adapters create a secure connection between the camera body and telescope mount, while maintaining optical alignment. Tripod stability becomes particularly important with longer focal lengths, as even minor vibrations can blur images. Wind resistance should be addressed through proper balancing techniques and potentially adding weight to the mount’s base. Standard adapter sizes (1.25″ and 2″) guarantee compatibility across various telescope focusers, allowing photographers to integrate filter systems for enhanced image detail without compromising the setup’s structural integrity.
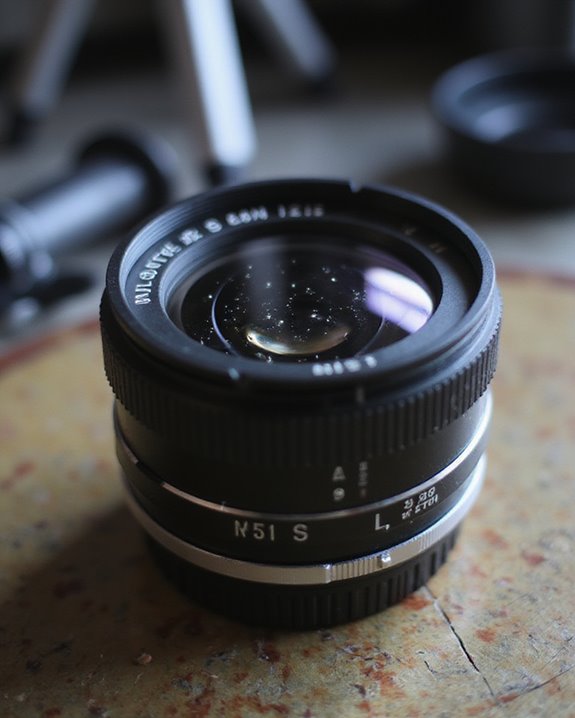
Choosing and Installing the Right Eyepieces
Selecting appropriate eyepieces represents the critical link between a repurposed camera lens and successful astronomical viewing, determining both magnification power and overall viewing quality. For camera lens telescopes, a balanced set should include a longer focal length eyepiece (25-35mm) for wide fields and a shorter one (4-10mm) for detailed observation, with proper installation requiring secure adapter fitting to maintain optical alignment.
Regular eyepiece cleaning techniques using microfiber cloths and lens-specific solutions prevent image degradation from dust and oils, while proper eyepiece storage in padded cases prevents scratches and fungal growth. Users should consider eye relief specifications carefully, particularly eyeglass wearers who benefit from 15-20mm or greater relief, and match eyepiece types to viewing goals—Plössls for general use and wider-field designs for deep-sky objects.
Testing and Calibrating Your New Telescope
Once the lens and eyepieces are properly assembled, testing and calibration become essential steps to achieve ideal performance from a camera lens telescope. Proper Photon Calibration involves checking the instrument’s ability to accurately detect light across various intensities, ensuring maximum sensitivity and minimal distortion when viewing celestial objects. This calibration process should include assessment of the signal-to-noise ratio, which indicates how effectively the telescope distinguishes between actual light sources and background interference.
Environmental Testing must account for atmospheric conditions that affect viewing quality, including temperature variations that can alter the optical properties of lenses. Users should conduct calibration procedures during stable weather conditions, isolating the telescope from vibrations that could blur images. Fine-tuning the optical alignment through proper collimation and focus adjustment will greatly improve image clarity and resolution capabilities.
Viewing the Night Sky: What to Expect
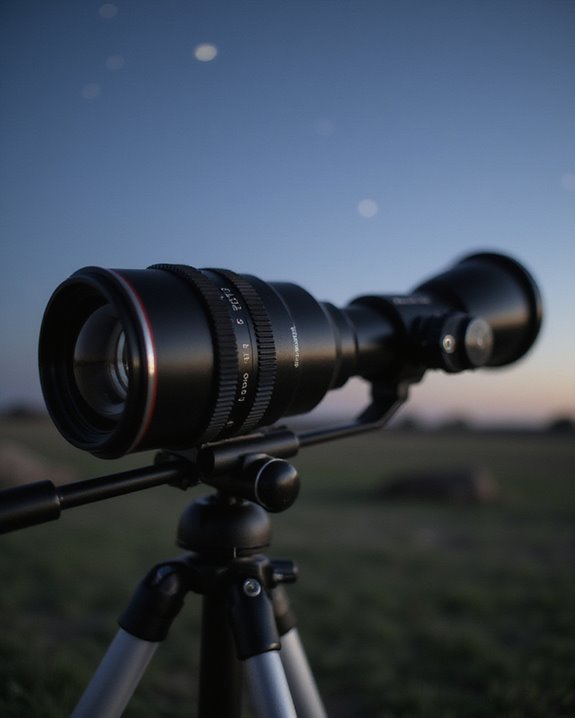
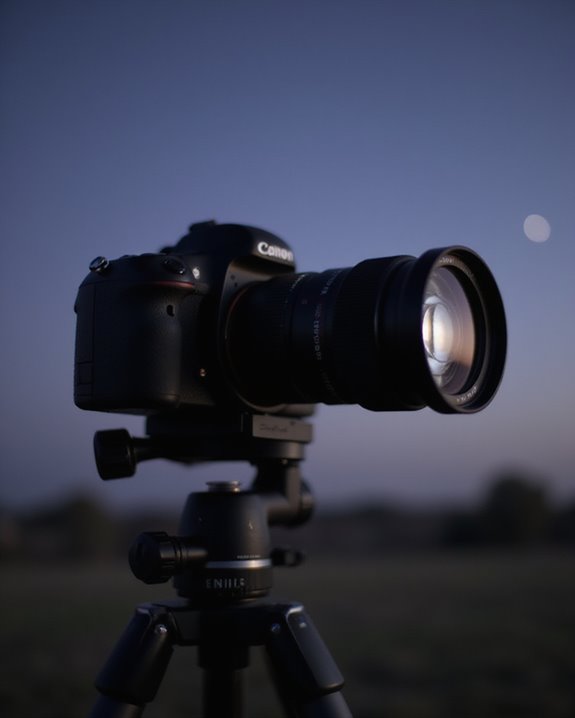
When venturing into nighttime observations with a converted camera lens telescope, amateur astronomers should set realistic expectations about what celestial objects will be visible. Camera lenses offer limited magnification compared to dedicated telescopes, making bright objects like the Moon, Jupiter, and Venus the most accessible targets. Atmospheric conditions greatly affect viewing quality, with clear, dark skies away from light pollution yielding the best results.
While special events like Comet sightings may be observable with longer focal length lenses mounted on a stable tripod, phenomena such as the Aurora Borealis are better appreciated with wide-angle views rather than telescopic observation. Users should allow 20-30 minutes for their eyes to adapt to darkness, which dramatically improves the number of visible stars and details in celestial objects.
Troubleshooting Common Issues and Adjustments
Even the most carefully assembled camera lens telescope setup can encounter problems that affect viewing quality and overall performance. Users should first check physical alignment, ensuring all caps are removed and the telescope is properly pointed at distant targets exceeding 60 meters. When image quality suffers, common optical aberrations like coma, chromatic aberration, and vignetting can be addressed by adjusting aperture or improving alignment.
Mechanical stability is vital for clear imaging, requiring secure mounting systems and minimal handling during observation. Condensation Control becomes essential in varying temperatures, while proper Accessory Maintenance prevents connection issues. For focusing problems, users should methodically move through the focuser’s full range, recognizing that the camera’s exposure settings must compensate for the fixed aperture nature of telescope adapters, as traditional F-stop control is unavailable.
Frequently Asked Questions
Can Converted Lenses View Planets Like Saturn’s Rings?
Like Galileo’s steam-powered telescope, converted camera lenses can indeed reveal Saturn’s rings, though with limited detail. Ring visibility remains modest due to optical limitations and atmospheric effects that blur planetary features.
How Does Image Quality Compare Between Prime and Zoom Lenses?
Prime lenses typically offer superior sharpness and less optical distortion than zoom lenses due to their optimized fixed focal length design. Zoom lenses sacrifice some image quality for versatility across multiple focal lengths.
Will Autofocus Lenses Work for This Conversion Project?
Ah, the ambitious dreams of autofocus lenses—always wanting to think for themselves! Unfortunately, their stubborn autofocus mechanism severely compromises conversion feasibility due to limited manual control necessary for proper telescopic focus adjustment.
Can I Use Digital Camera Viewfinders Instead of Telescope Eyepieces?
Digital camera viewfinders aren’t direct substitutes for telescope eyepieces. While Digital Integration is possible through cameras and adapters, Viewfinder Compatibility issues arise as electronic viewfinders lack the optical clarity and dynamic range of dedicated eyepieces.
How Long Does a Typical Lens-To-Telescope Conversion Project Take?
A typical lens-to-telescope conversion project timeline ranges from 3-8 hours for experienced builders. Conversion speed depends on technical skill, availability of adapters, and complexity of the chosen lens configuration.
